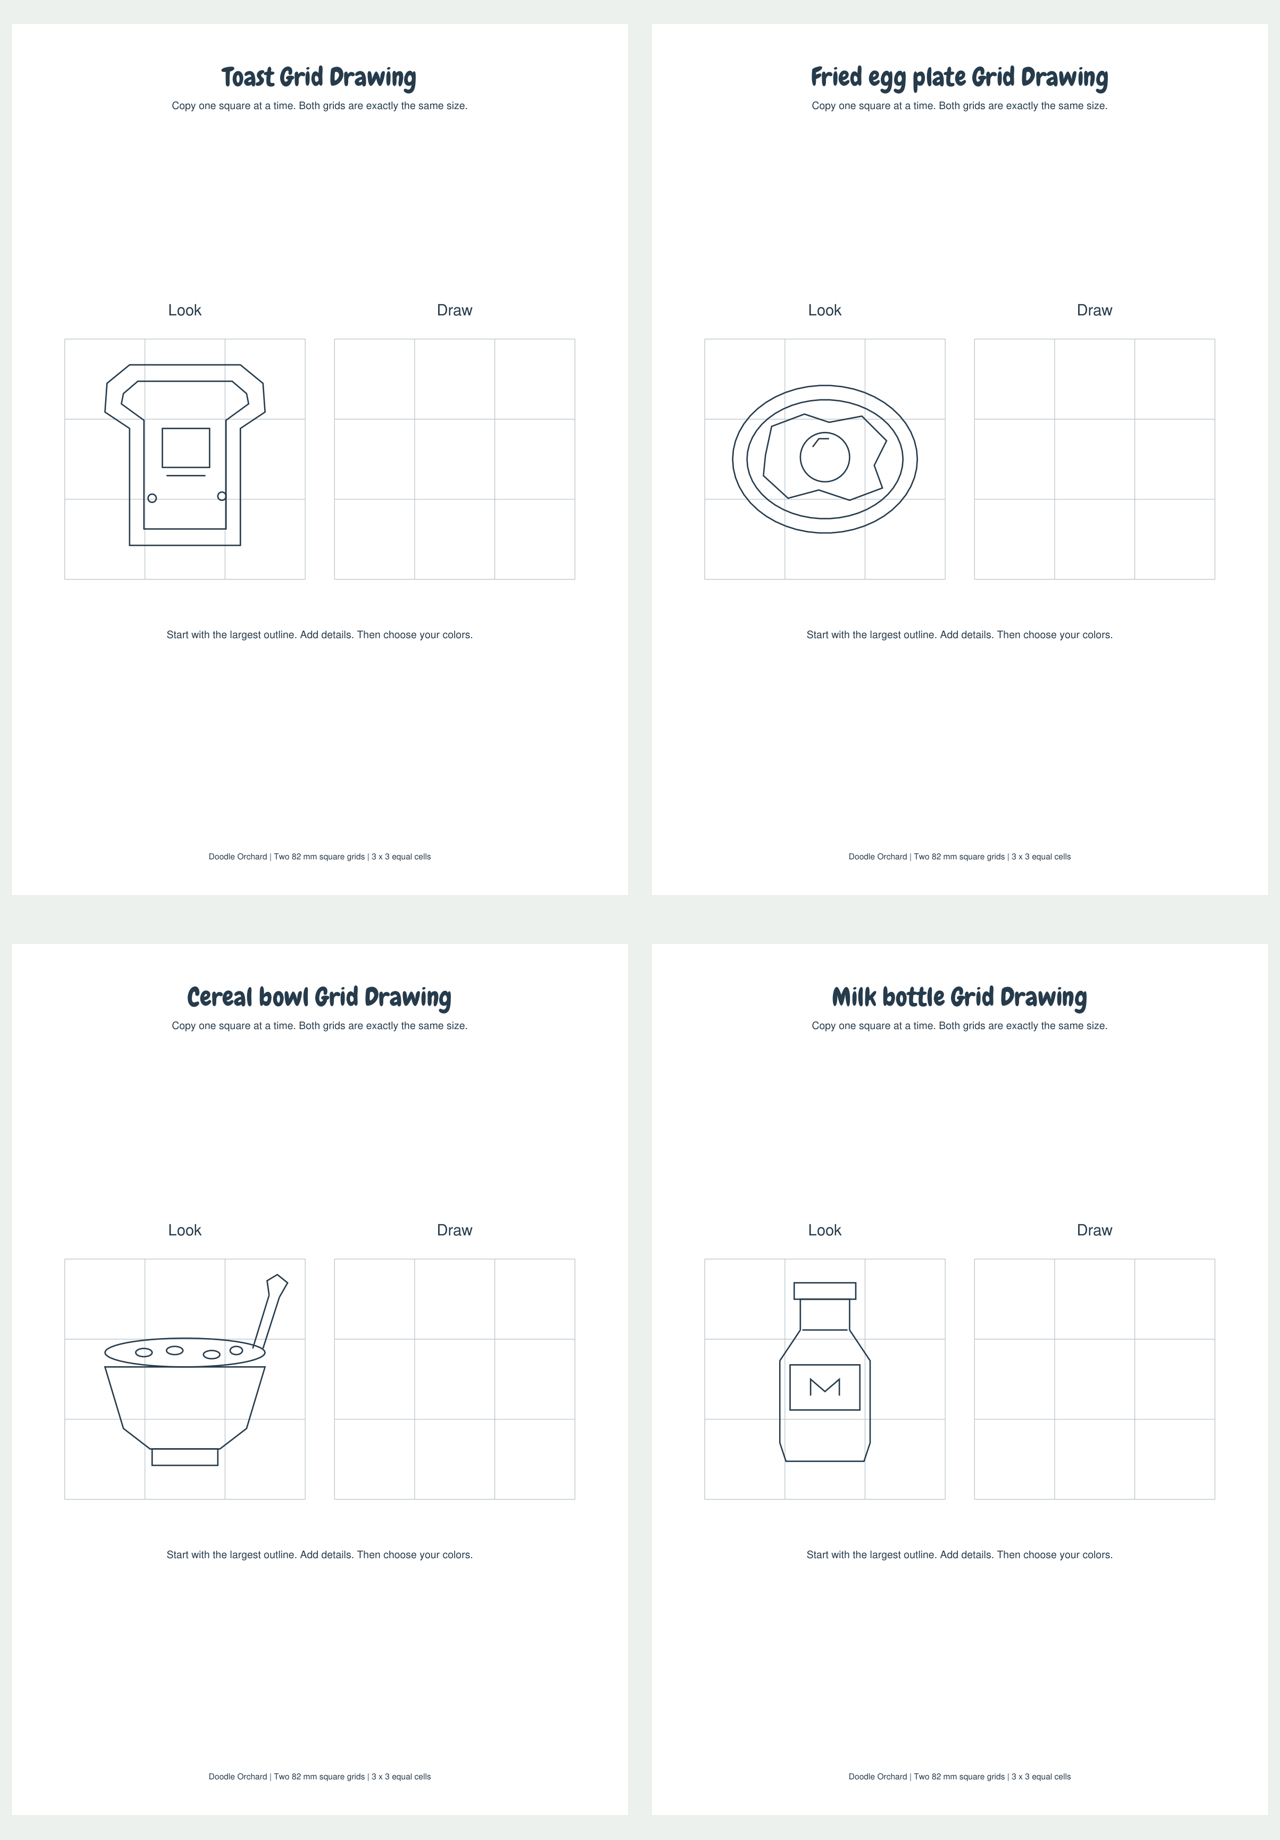
Copy four clear picture references: toast, fried egg plate, cereal bowl and a milk bottle. Every printable page places the reference on the left and an equal-size empty grid on the right. Both are 3 x 3 grids, so you can compare the same square on each side rather than estimating the entire picture at once.
Choose a Page and Find Its Matching Squares
Print one design or the full four-page set. Each square grid measures 82 x 82 mm at actual size, with three equal rows and three equal columns. Choose 100% or actual-size printing to preserve that measurement. Use a pencil first, keeping an eraser nearby. You draw directly in the empty grid; no cutting, folding or separate card assembly is needed.
Match top-left square to top-left square, middle square to middle square, and so on. Notice where a line meets a grid boundary. Transfer that crossing point to the corresponding boundary in your empty grid, then connect it to the next point.
Toast
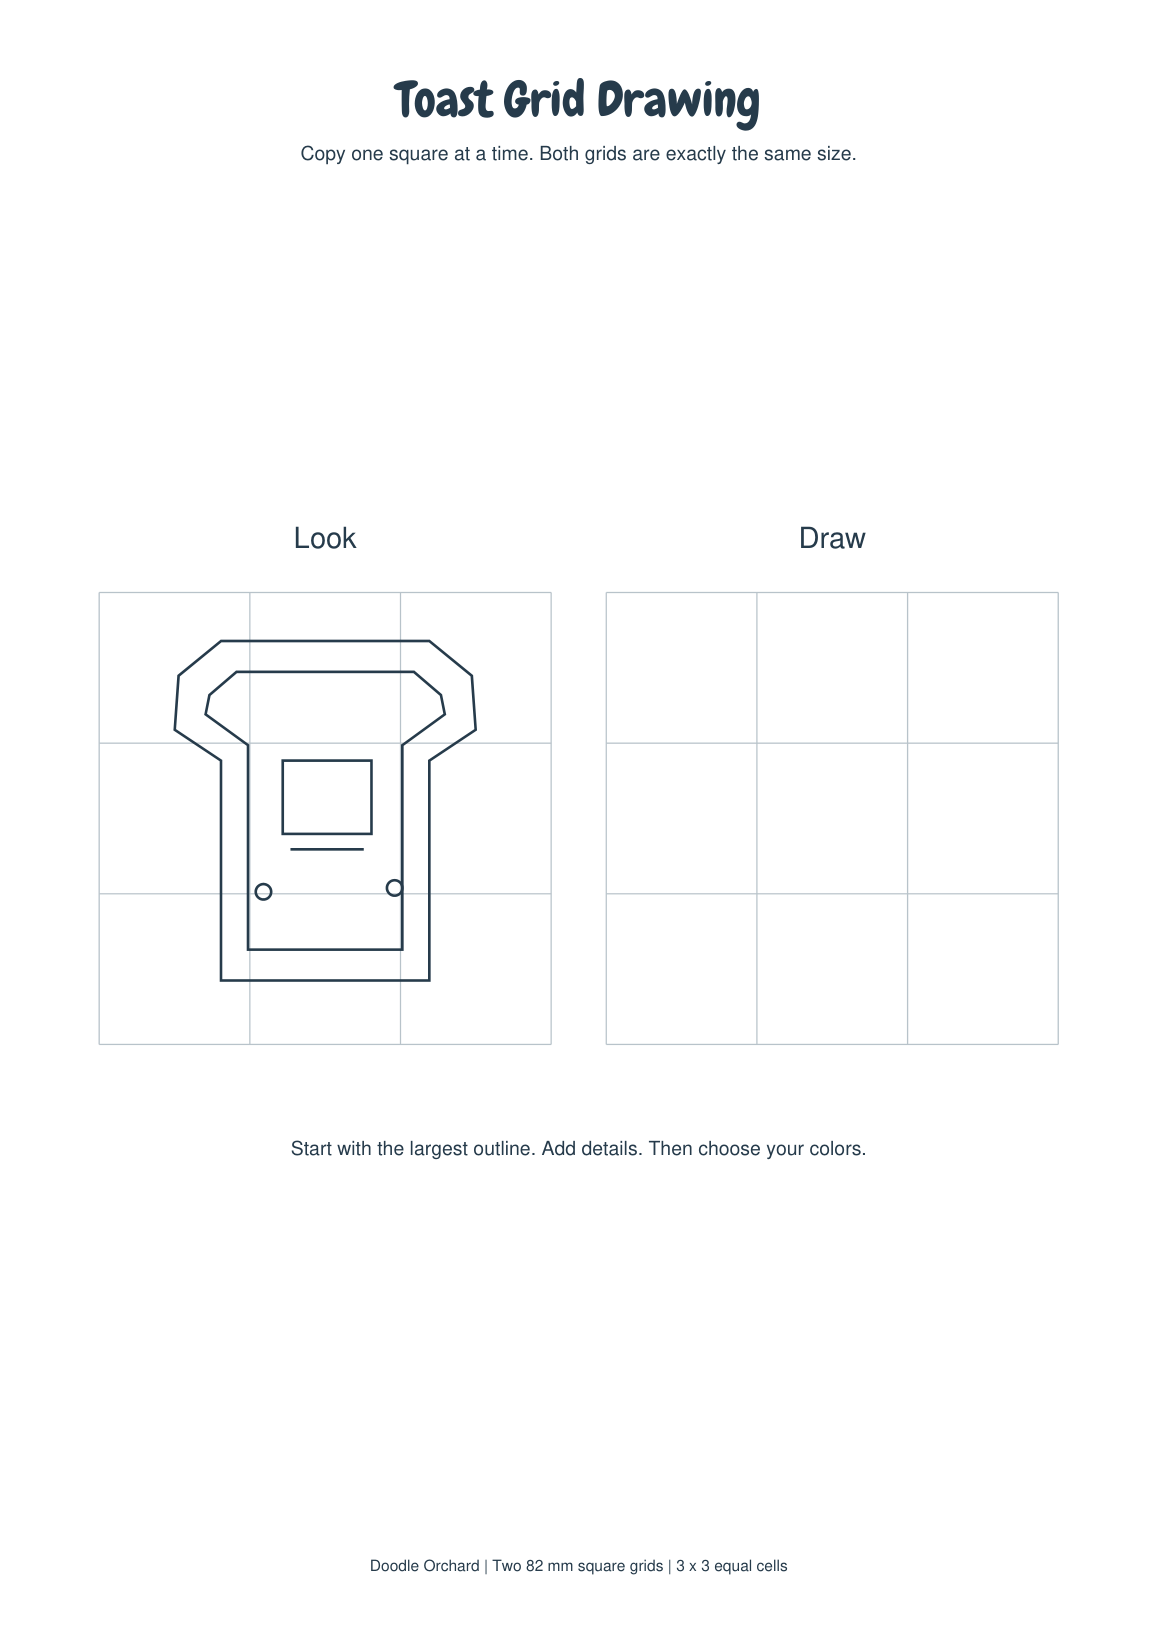
The toast outline widens at the top, then steps inward toward the straight lower sides. Copy that outside first before adding the smaller inner outline. The butter is a small rectangle inside the bread, with a short line below it. Look at the corners where the top changes width; keeping those corners makes the drawing read as toast rather than a simple tall box.
Fried Egg Plate
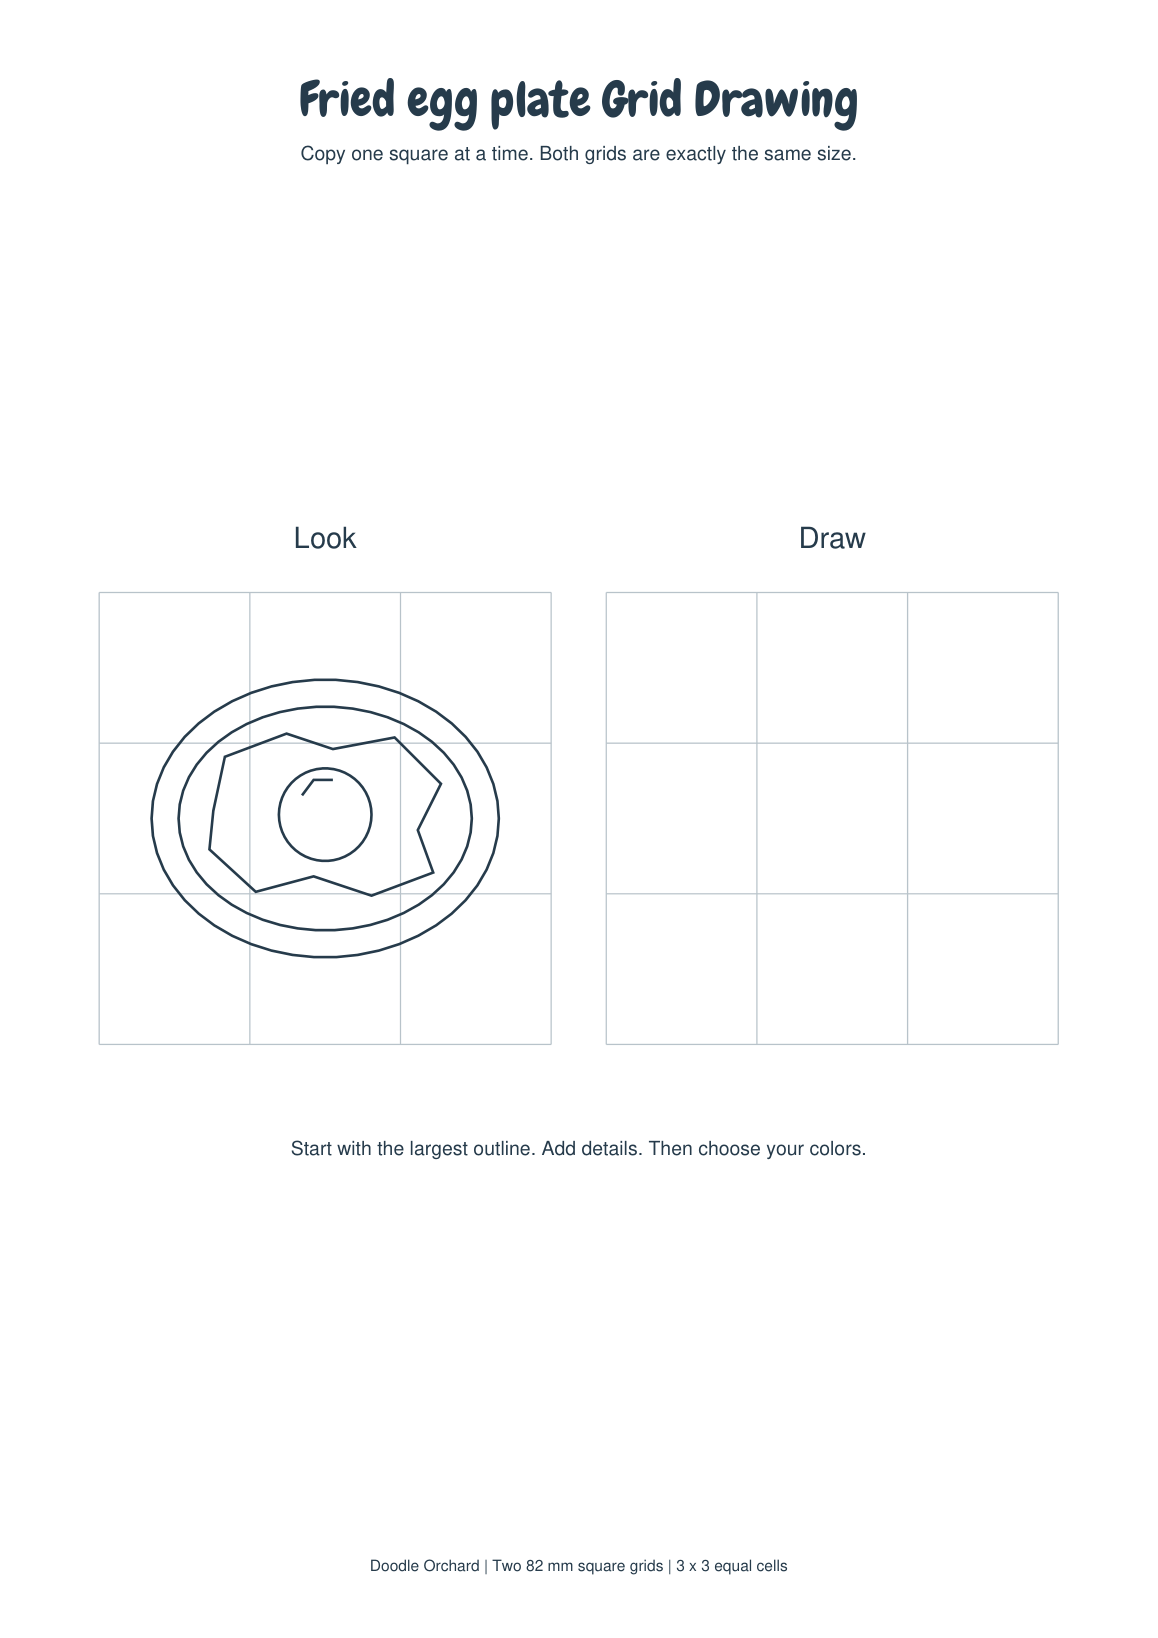
Start with the broad outer oval, then add the inner rim at a similar distance from it. The egg-white outline is uneven and sits inside the smaller oval. Place the round yolk after that shape is established. Copy the short highlight last. Keep each outline separate: the plate rim, egg white and yolk are three different boundaries in the reference.
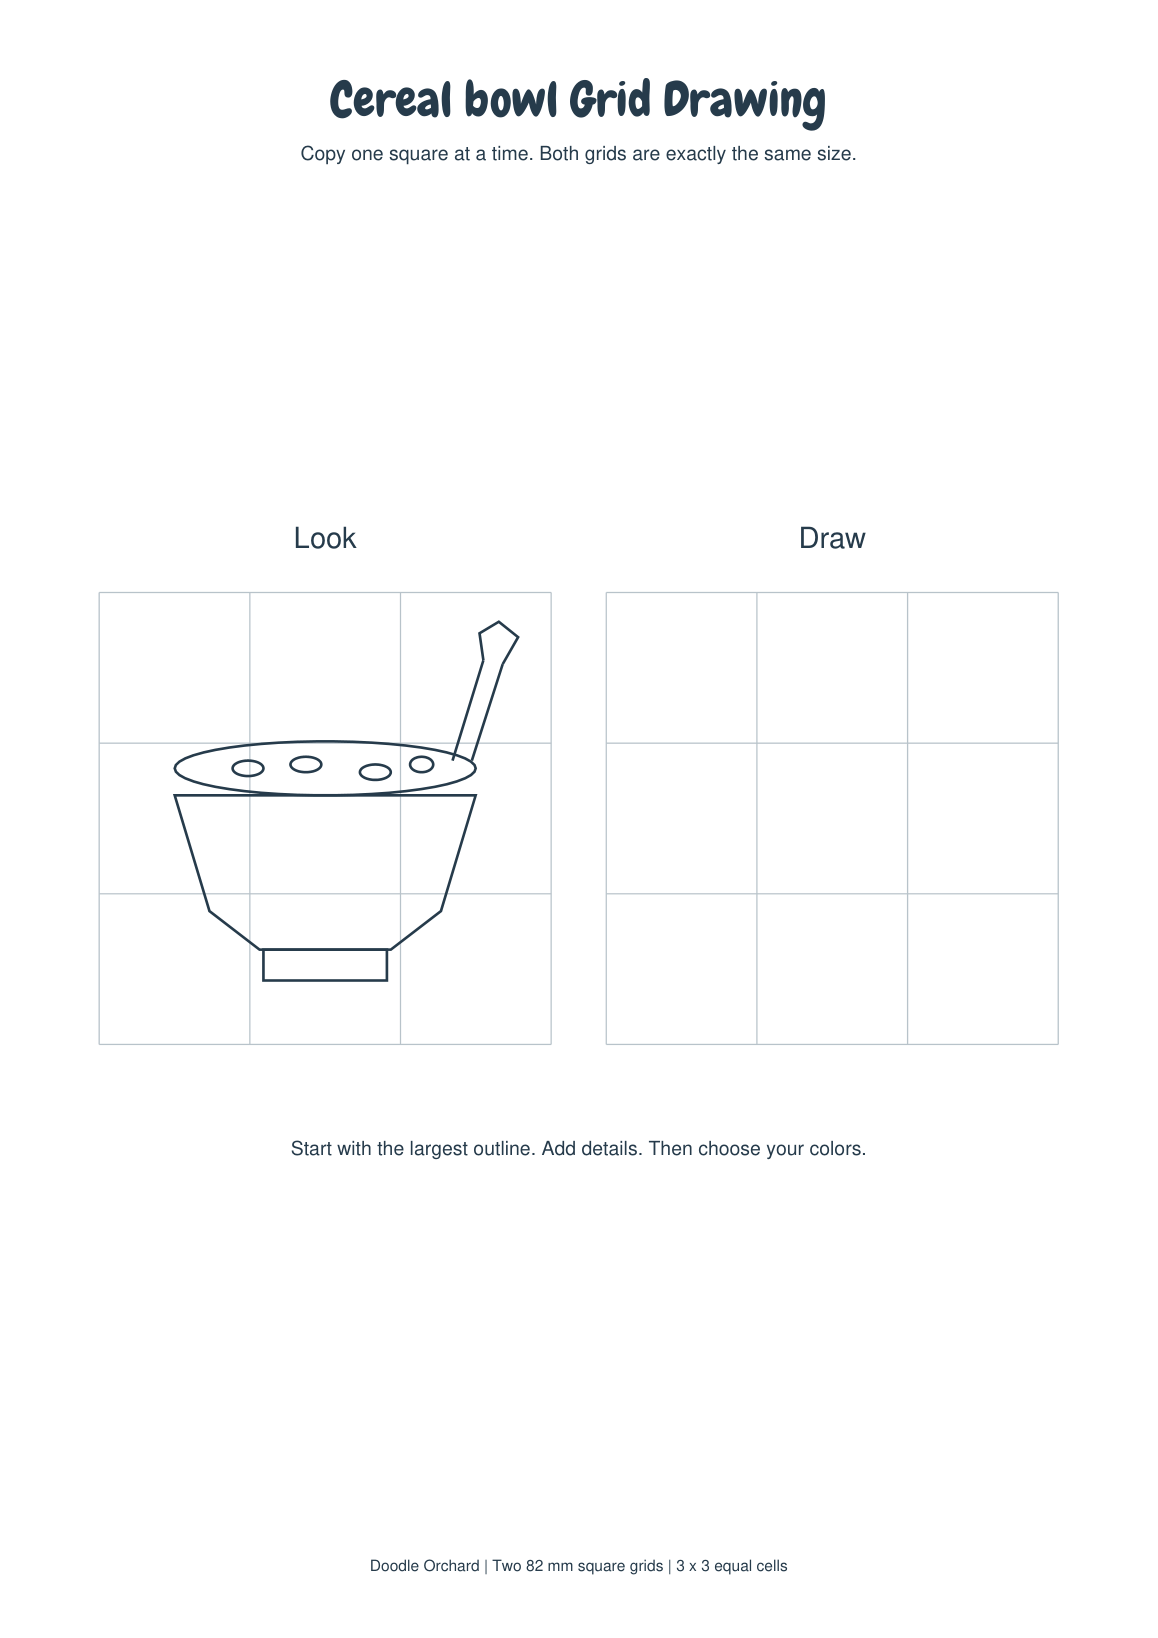
Cereal Bowl
The shallow oval at the top is wider than the foot at the bottom. Use those two widths to place the sloping bowl sides. Copy the little cereal ovals inside the upper opening, then add the spoon rising toward the upper right. Leave room for its handle in the top row. The small rectangular foot stays centered beneath the bowl.
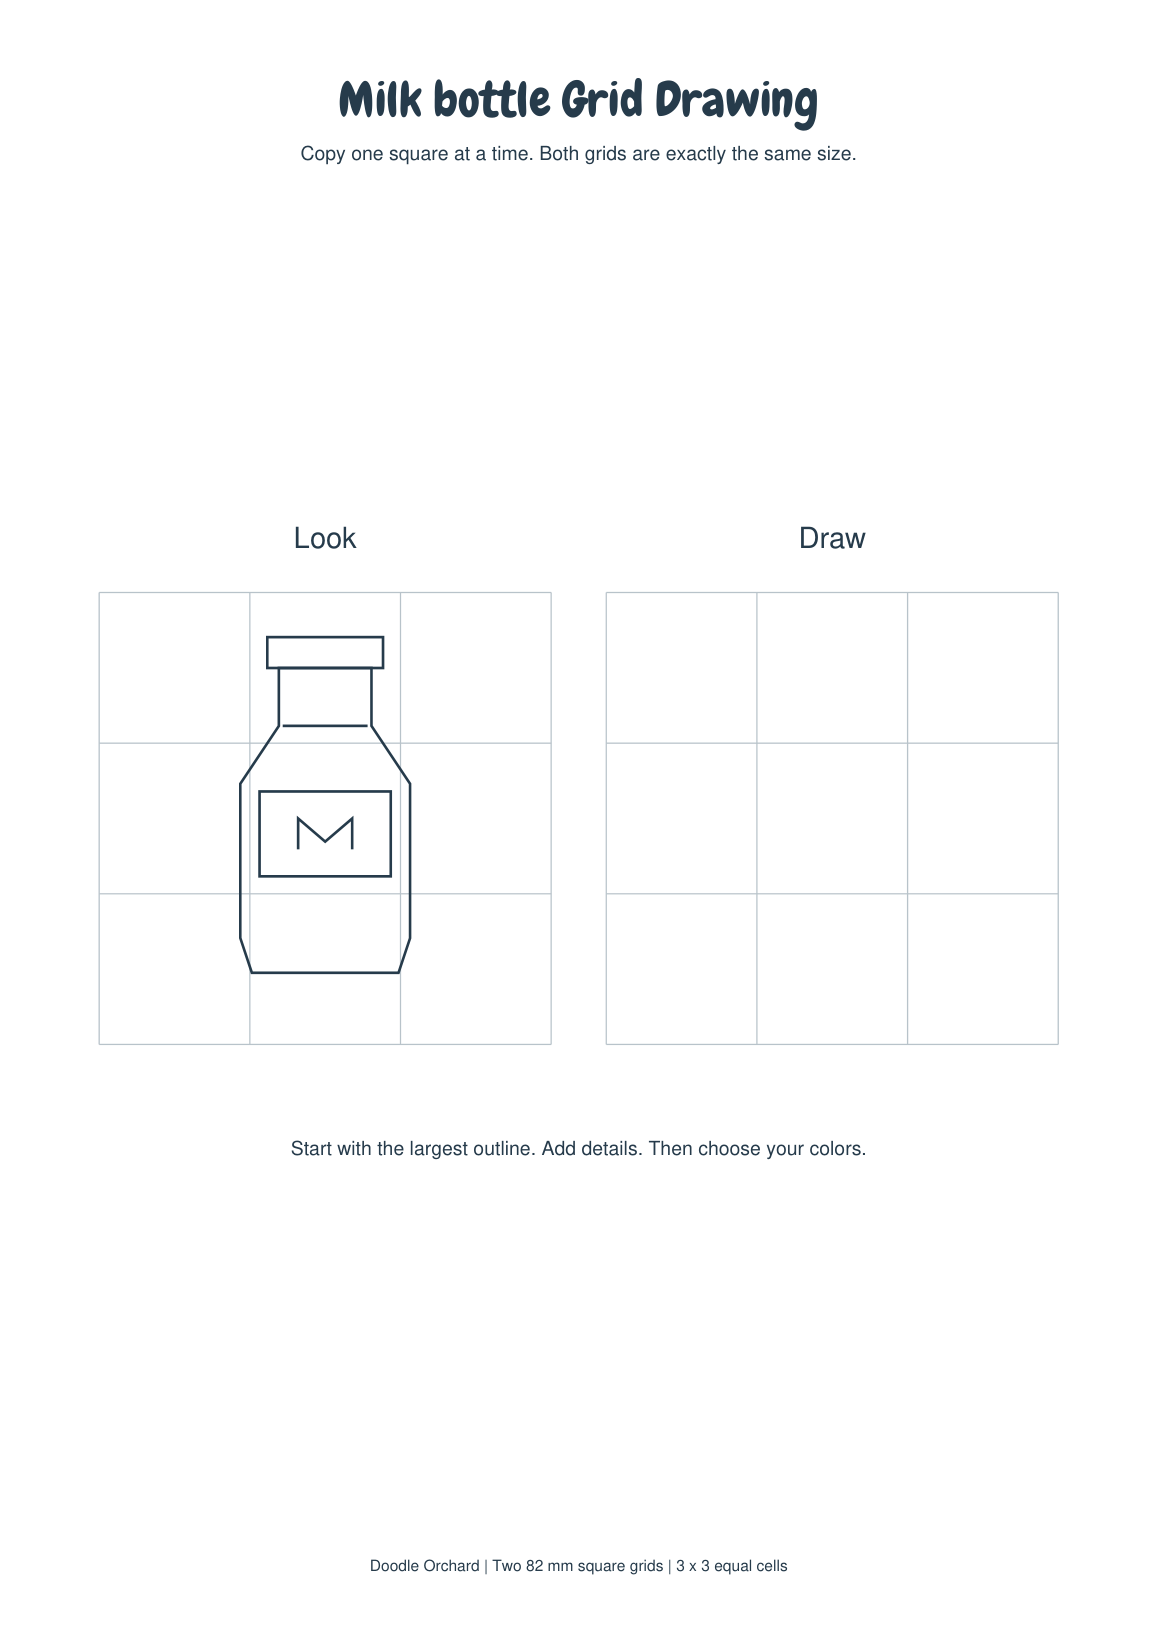
Milk Bottle
Place the wider lower body before narrowing the outline into the neck. The cap extends slightly beyond the neck, while the rectangular label sits on the broad front. Use the horizontal grid lines to compare the cap, shoulder line and label height. Add the M-shaped label mark last. Keeping the shoulder slopes visible helps distinguish the bottle from a plain rectangle.
Finish the Outline Before the Small Details
Start with the largest outside shape, using the grid to compare width and height. A long line may pass through several squares; follow it through the matching cells rather than stopping at each boundary. Add interior shapes after the outside fits. When a curve crosses a grid line, compare both its crossing position and the direction it takes into the next square.
Check the whole drawing before coloring. If a feature is too wide, compare the number of columns it reaches across. If it is too high or low, compare its row with the reference. The empty grid contains no hidden picture or numbered route: it is a space for your own copy. Once you are happy with the outline, choose your own colors.
Download the Printables
Choose A4 (210 x 297 mm) or US Letter (8.5 x 11 inches) for the paper in your printer. The two sizes contain the same designs. The complete file repeats the separate files in one convenient PDF; it does not add extra activities.
Copy Grids - 4 pages: A4 PDF | LETTER PDF
Complete pack - 4 pages: A4 PDF | LETTER PDF