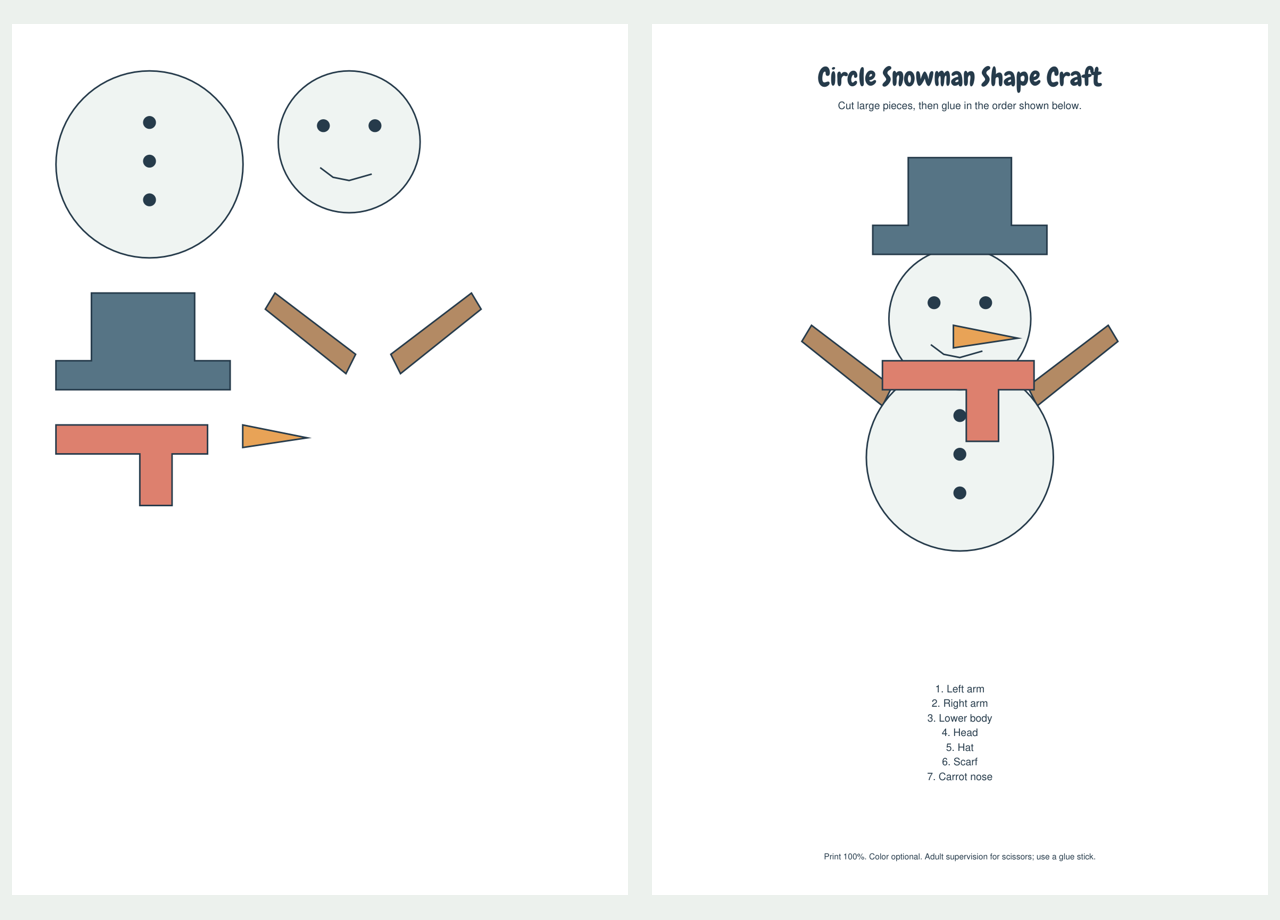
Assemble a flat snowman with seven large pieces: a lower body, head, hat, scarf, two arms and carrot nose. The eyes, smile and buttons are already printed on the two body circles. You can keep those marks on their large pieces instead of cutting and positioning tiny black dots.
Get the Paper and Tools Ready
Choose the A4 or US Letter version for your paper and print at actual size or 100%. Turn off fit-to-page if you want the cutting pieces to match the reference scale. Use ordinary paper for a lightweight picture, or paper/card that your printer can handle. Have a separate backing sheet, scissors and a glue stick ready. An adult can help with cutting. Start by laying the pieces out without glue.
Find the 7 Large Pieces
The larger pale circle has three printed buttons; the smaller circle has the face. The dark hat is one connected shape, including its brim. The coral scarf has a short hanging end, and the two tan arms are simple strips. The long narrow triangle is the carrot nose. These are seven pieces because the left and right arms are counted separately.
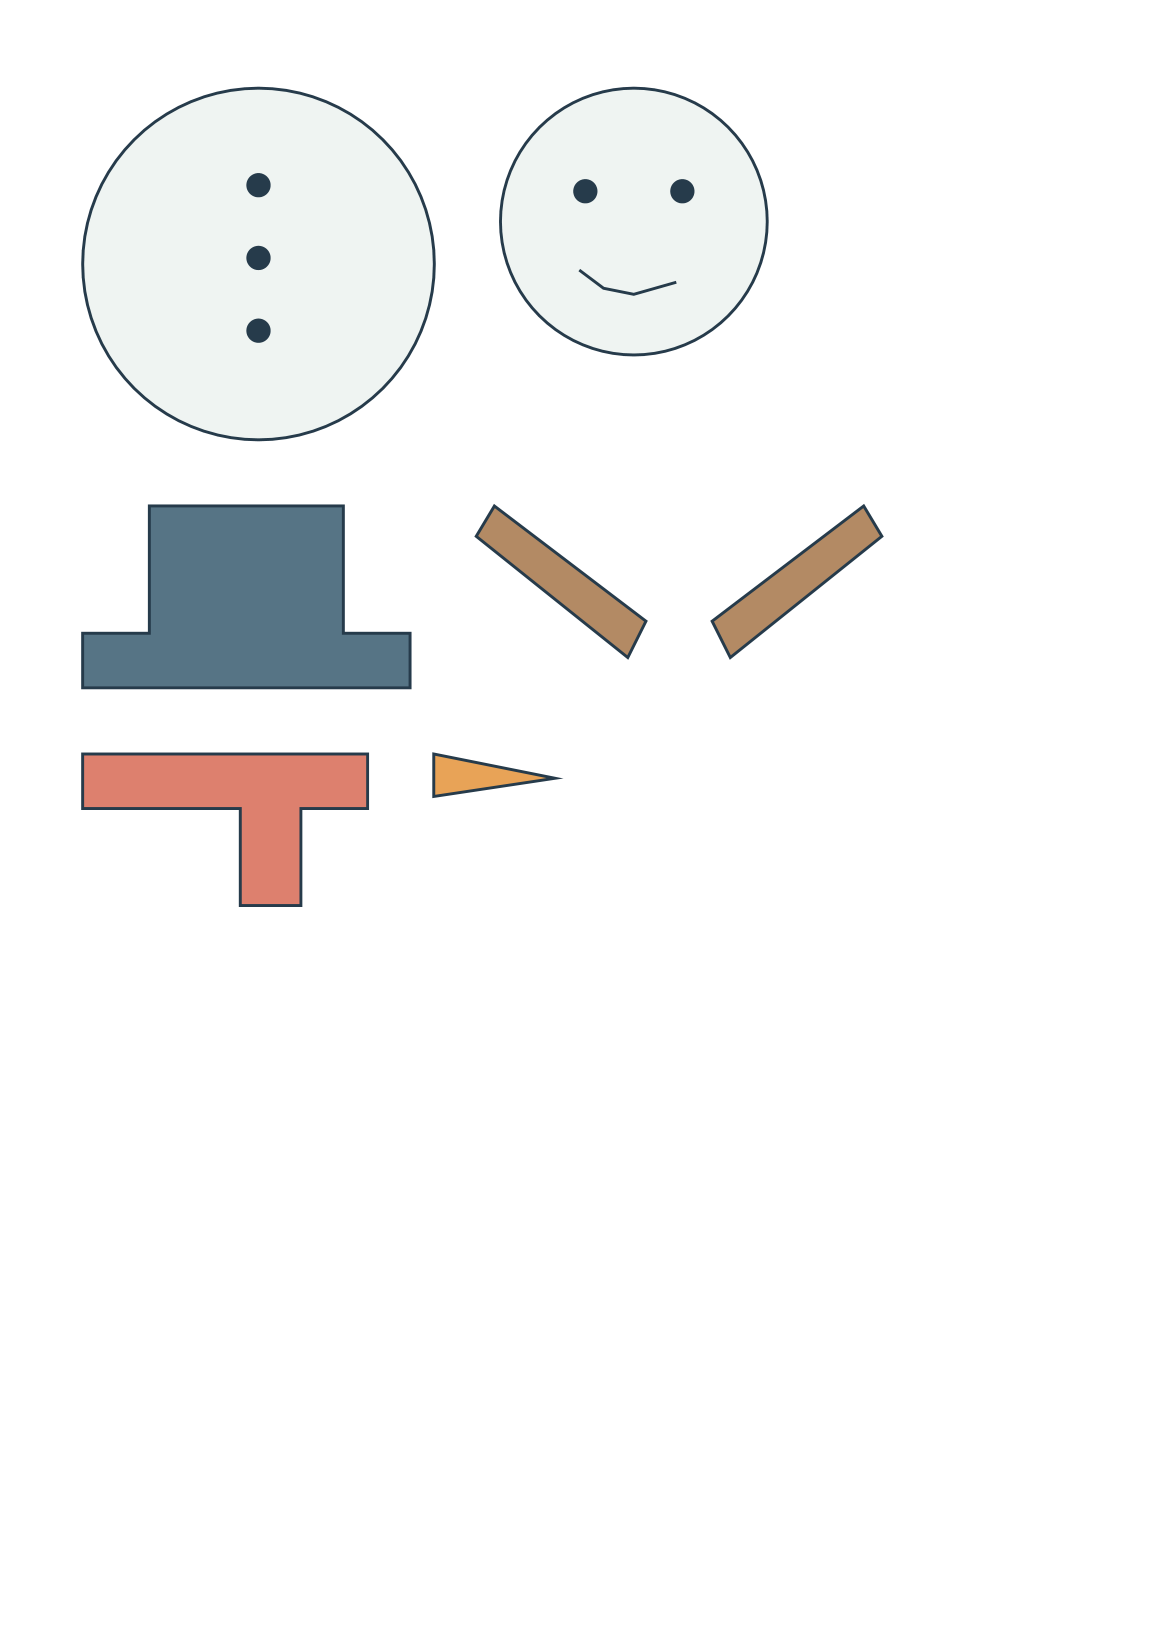
The cutting sheet has no title or footer inside its working area. Cut around each outside shape and keep the printed details on the pieces. The reference uses exactly the same piece geometry and scale as the cutting page. You can choose your own backing color without changing the paper shapes.
Put the Layers Together
- Arrange the two arms on a backing sheet with their outer ends pointing upward. Leave their inner ends beneath the future upper edge of the large body circle. Place the body over them to check the overlap before applying glue.
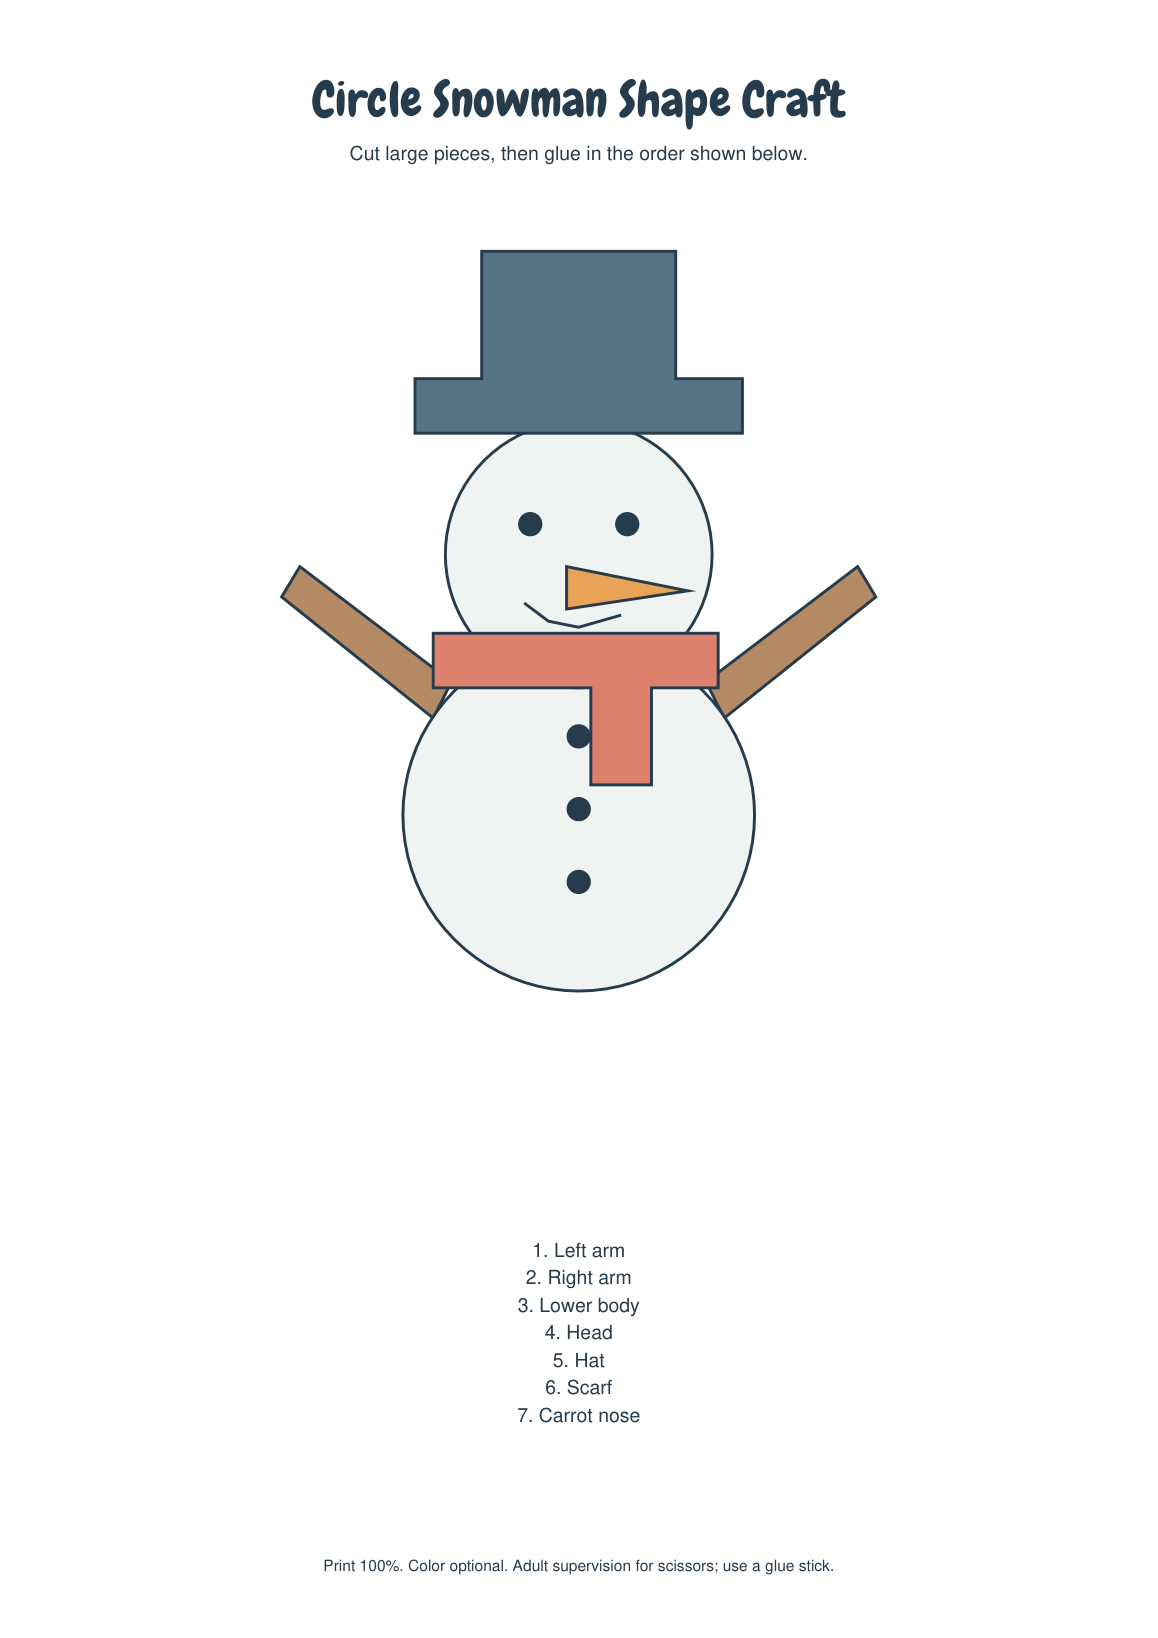
- Glue both arms and place the buttoned lower body on top of their inner ends. Add the smaller head directly above it, with the eyes level and the smile below. The two circles should meet, rather than leaving a gap between the head and body.
- Position the dark hat above the head with the brim across its top. The tall part of the hat stays upright. Glue it after checking that the brim overlaps the head slightly and leaves the eyes fully visible below it.
- Lay the scarf across the join between the two circles. Its short end hangs down onto the upper part of the lower body. Add the carrot nose over the face last, with its point facing right as in the reference. Keep the eyes and smile clear.
Check Before Pressing the Glue Down
If an arm looks detached, move its inner end farther behind the lower body. A scarf hiding the eyes is too high; lower it to the neck join. The nose is a separate large triangle, while the eyes and buttons remain printed. There is no need to punch or cut those little dots out of the circles.
Press the large pieces flat once their positions are settled. Keep the separate reference page nearby while working rather than cutting it up for extra pieces. If you want another copy for a second picture, reprint the cutting page; the complete pack contains that same cutting page once, followed by the reference.
Download the Printables
Choose A4 (210 x 297 mm) or US Letter (8.5 x 11 inches) for the paper in your printer. The two sizes contain the same designs. The complete file repeats the separate files in one convenient PDF; it does not add extra activities.
Cut Pieces - 1 page: A4 PDF | LETTER PDF
Reference And Order - 1 page: A4 PDF | LETTER PDF
Complete pack - 2 pages: A4 PDF | LETTER PDF