
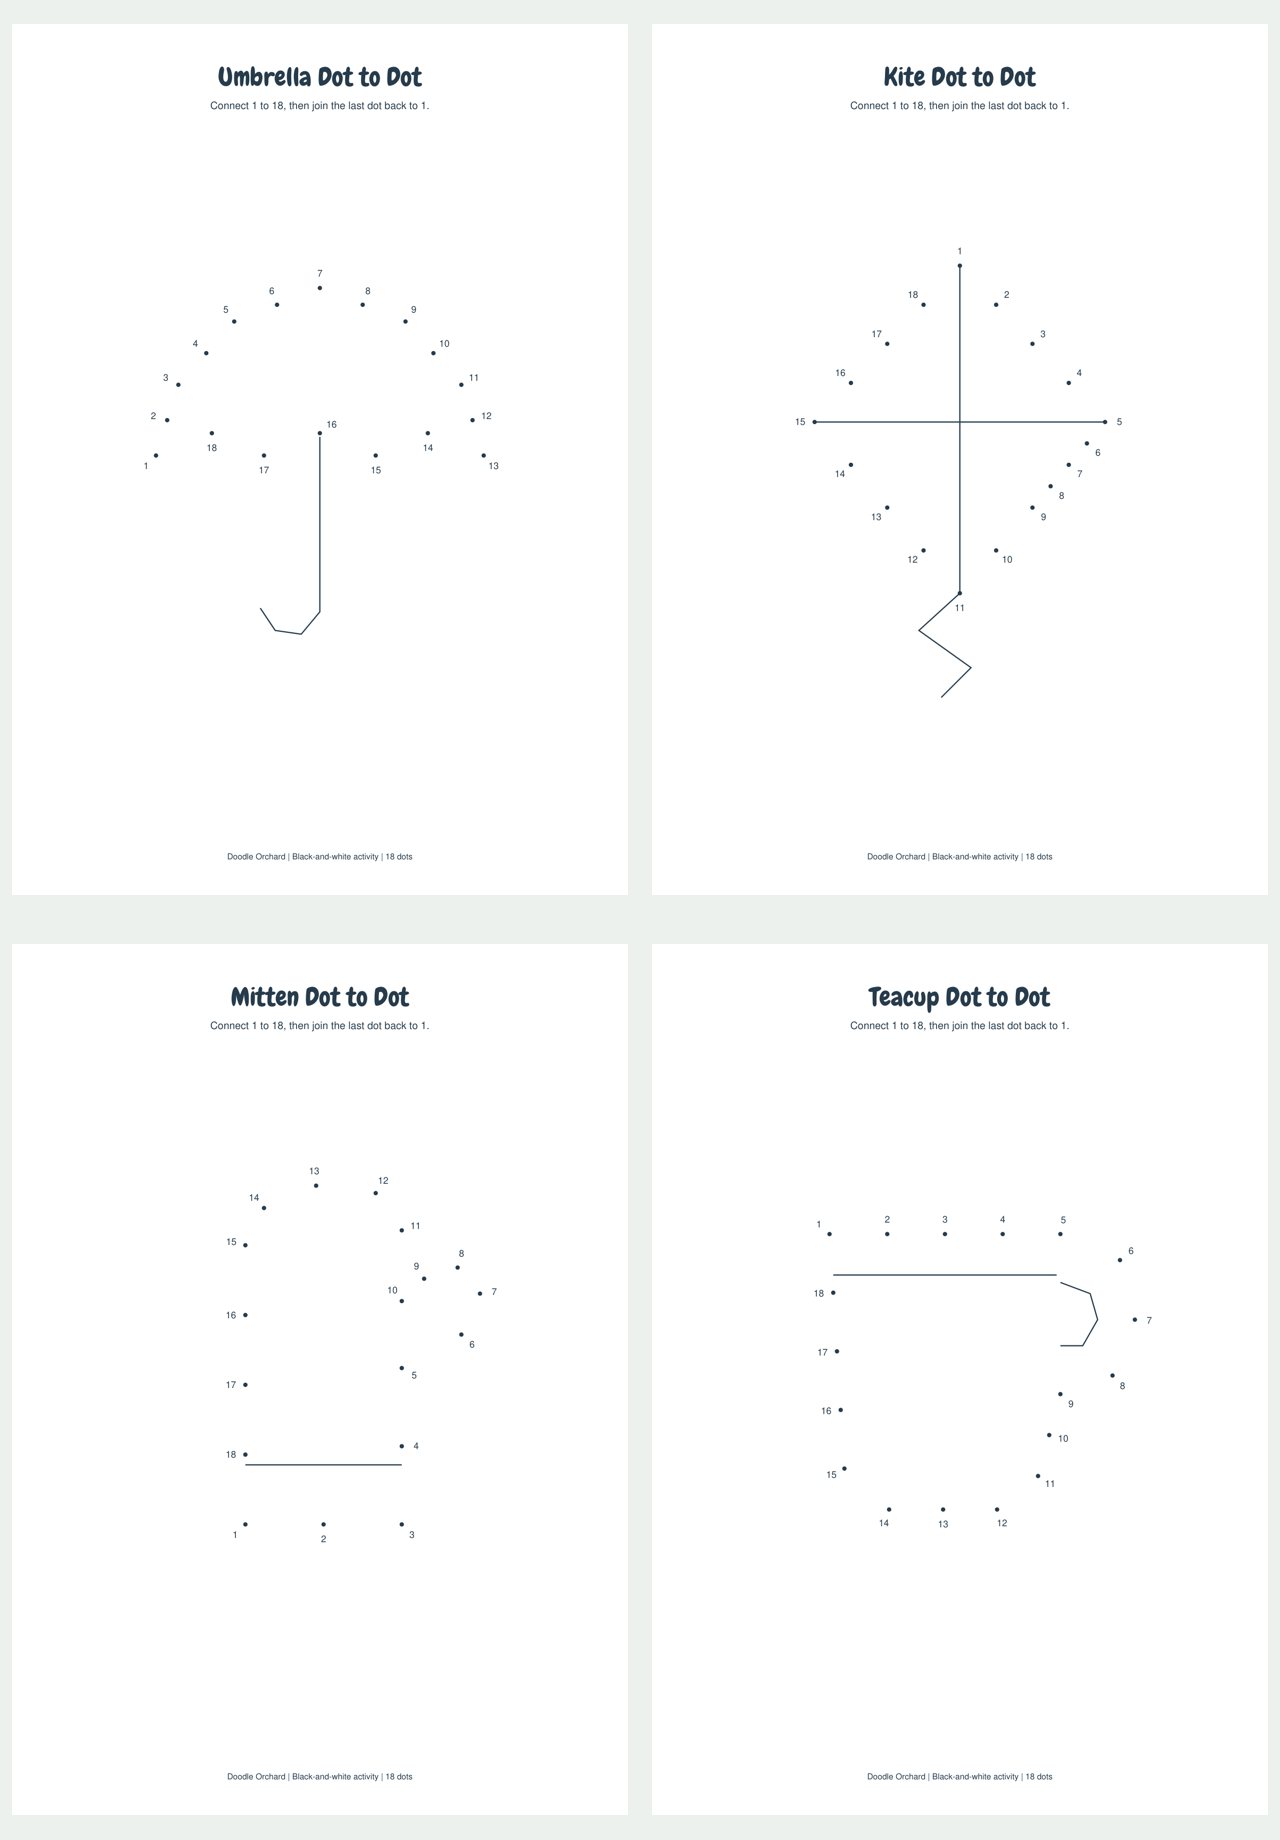
The four dot-to-dot pictures in this set are umbrella, kite, mitten and teacup. Each picture has its own full activity page and a matching connected answer. Join the numbered outside shape, keep the fixed details already on the page, and then color the finished picture if you like.
Start with One Picture
Print the four-page Activities file, or select just one page in your PDF print dialog. Keep the four-page Answers file separate if you want the shape to be a surprise. Every page tells you its final number. Start at 1, draw to 2 and continue in number order; after reaching the last dot, draw back to 1 to close the shape. A pencil makes it easy to adjust an accidental jump.
Some details are already printed, including stems, windows or surface patterns where the design needs them. Those marks are part of the picture, not extra dots to connect. Numbers sit near their dots; aim for the small round dot itself.
Umbrella - 18 Dots
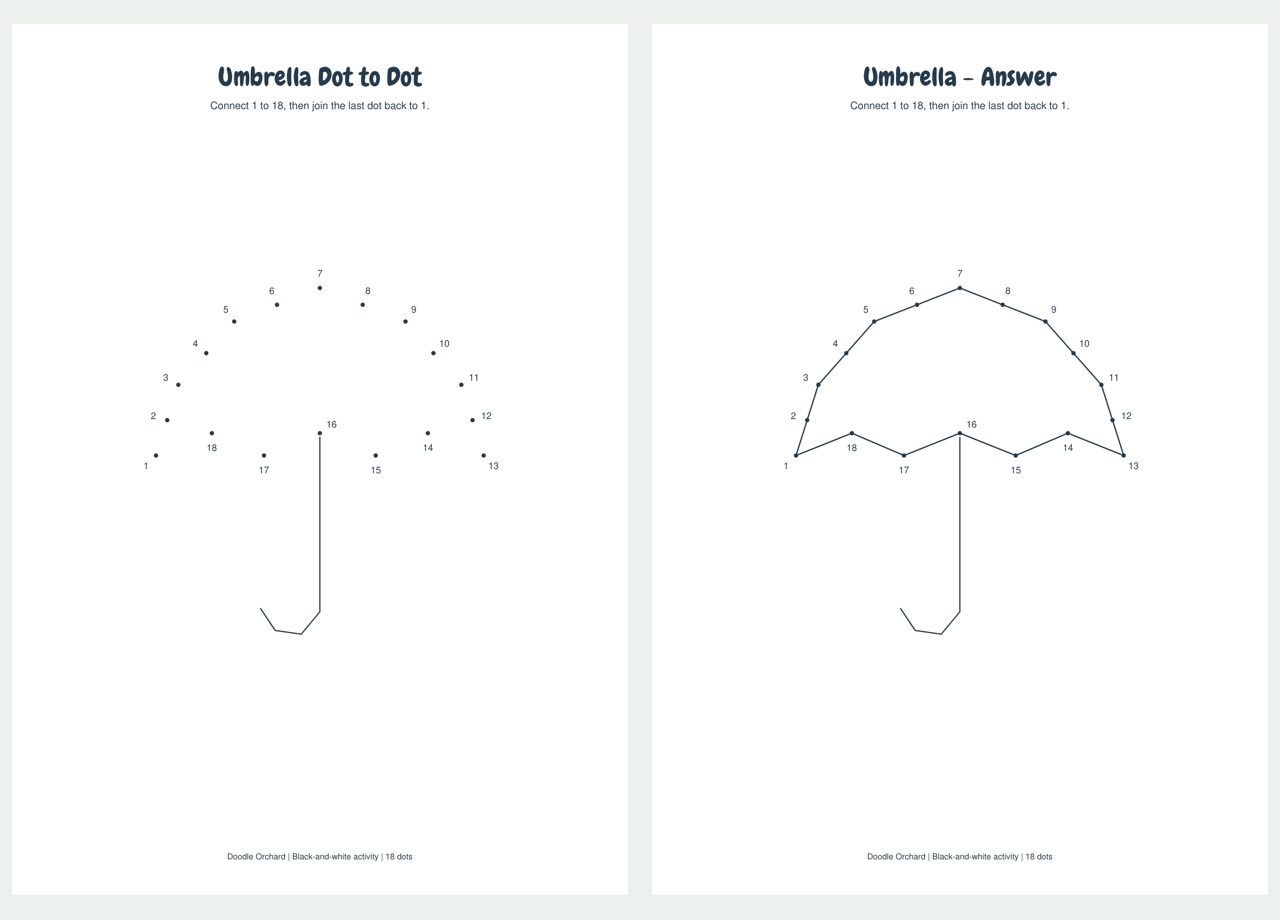
The umbrella canopy has a broad arched top and a lower edge made of shallow points. The numbered route follows both edges of that canopy. The long hooked handle is already drawn beneath it. At the bottom edge, continue through the small changes of direction in order instead of drawing one straight line from one end of the umbrella to the other.
Kite - 18 Dots
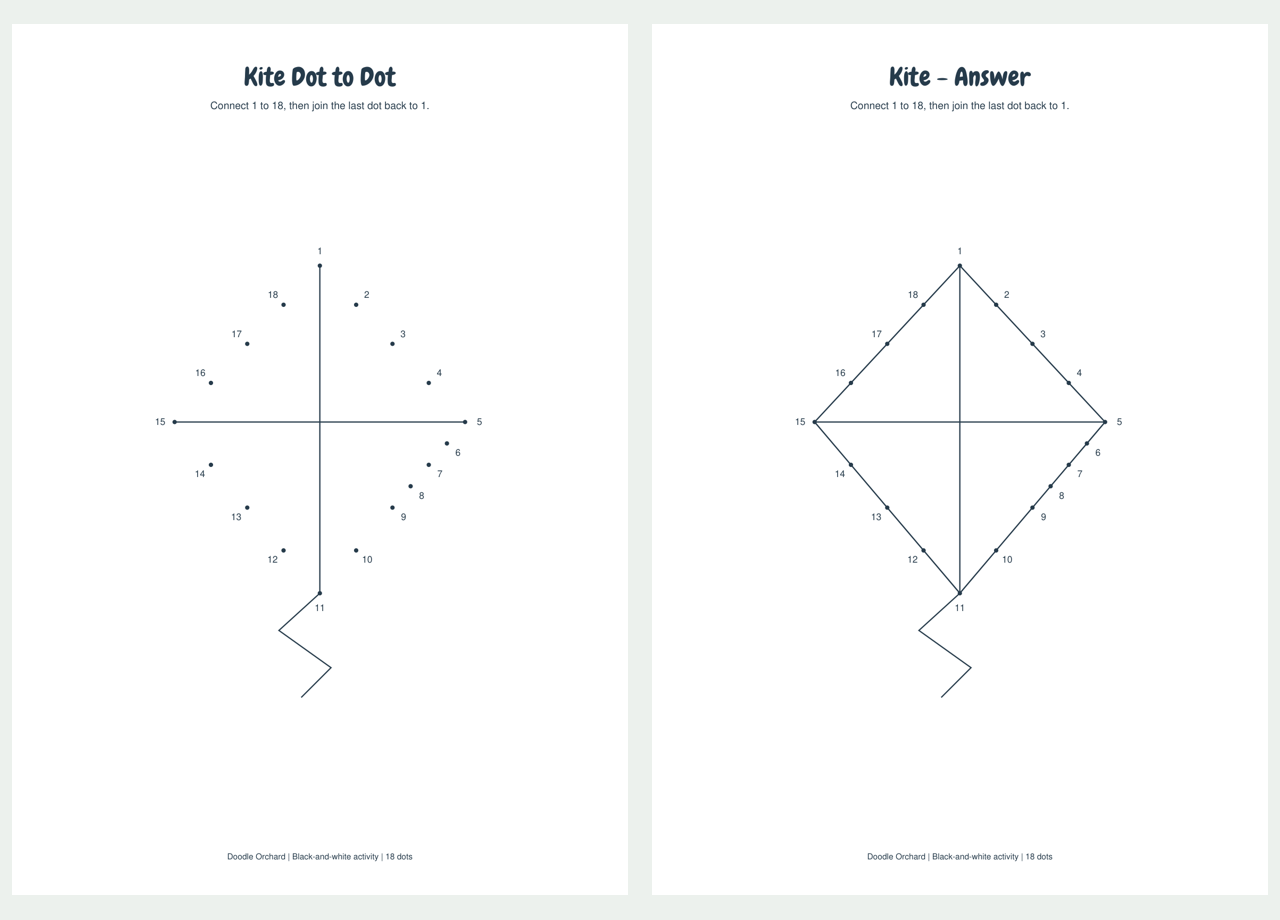
The kite outline is a four-cornered diamond with numbered stops along its long sides. The cross inside and the zigzag tail are already printed. Follow the numbers around the outside, then close the last gap to the first dot. Keep the diagonal sides separate from the internal cross; the tail is a finished detail rather than another route to connect.
Mitten - 18 Dots
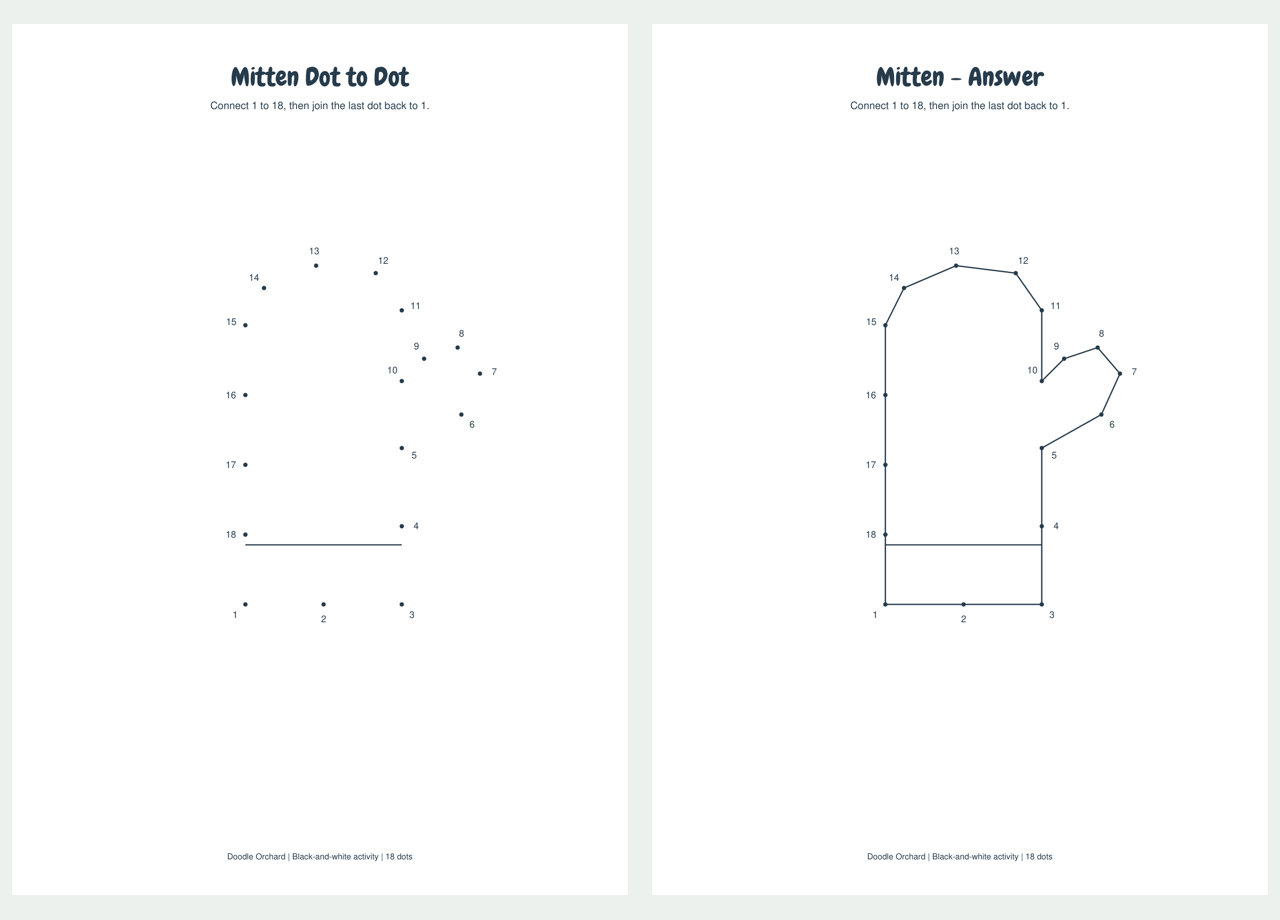
The mitten has a long rounded main section and one smaller thumb sticking out to the side. Follow the inward corner between the thumb and the fingers in number order. The cuff line is already printed near the bottom. The final outline should include the thumb as part of the same shape, without a connecting line cutting across its opening.
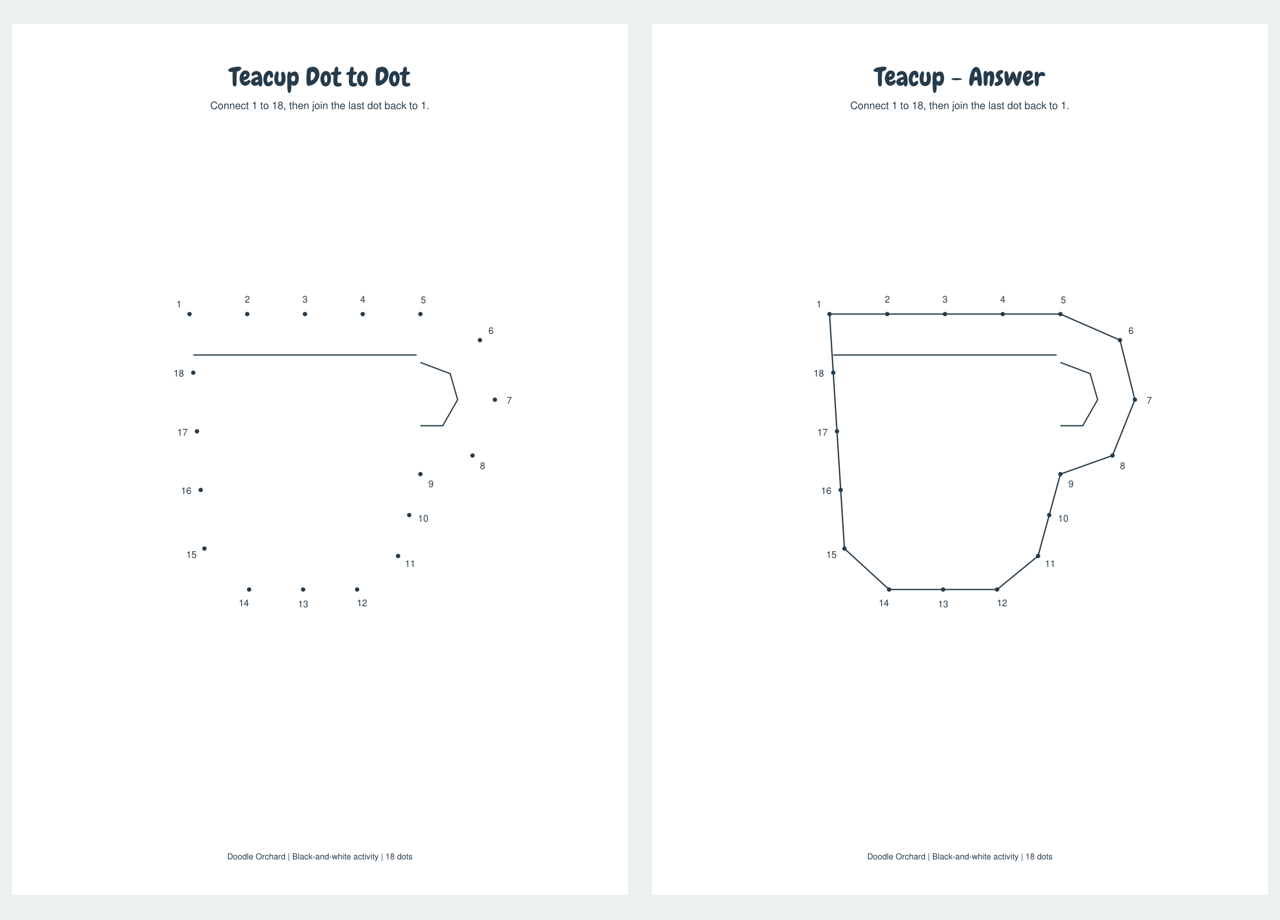
Teacup - 18 Dots
The teacup route includes the main cup and its projecting handle on the right. Follow the handle's outside edge before returning to the body. Its inner opening and the line near the rim are already printed. The short bottom edge closes the cup. Once finished, you can give the cup and handle the same color while keeping the handle opening white.
Use the Answers Without Losing Your Place
The answers follow the same picture order as the activity pages. Compare one picture at a time: check the outer shape first, then look for a skipped number or a line that jumped across a corner. If something looks wrong, trace the number sequence with a finger before erasing. Do not connect the preprinted interior marks together. Once the outline is closed, choose your own colors for the large spaces.
The complete PDF has eight pages: four activities followed by their four answers. Print only the first four pages for a child-facing set, or keep the last four as your reference. There is no cutting or separate game-card preparation.
Download the Printables
Choose A4 (210 x 297 mm) or US Letter (8.5 x 11 inches) for the paper in your printer. The two sizes contain the same designs. The complete file repeats the separate files in one convenient PDF; it does not add extra activities.
Activities - 4 pages: A4 PDF | LETTER PDF
Answers - 4 pages: A4 PDF | LETTER PDF
Complete pack - 8 pages: A4 PDF | LETTER PDF