
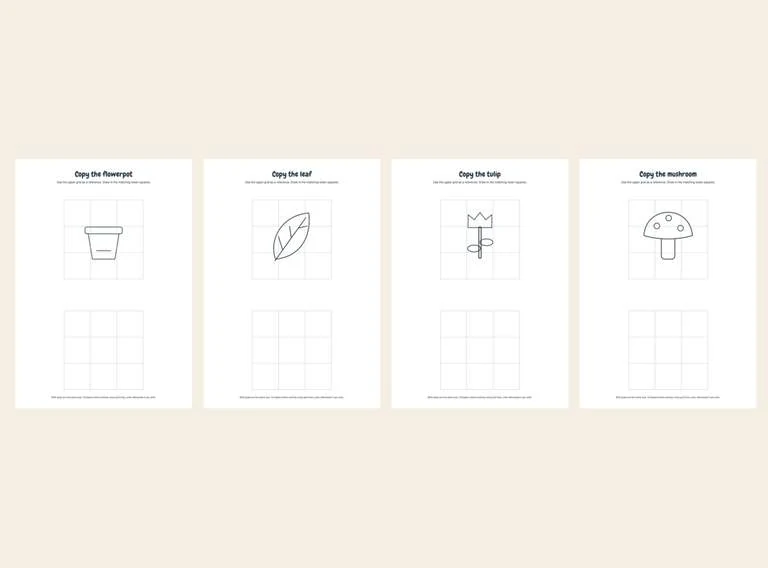
Copy a flowerpot, leaf, tulip or mushroom into a blank grid. Each printable page places a simple outline in the upper three-by-three grid and an equal-sized empty grid below. Look at where the lines cross each square, then draw those parts in the matching lower squares. Color the finished drawing if you wish.
Choose Your Download
The complete pack contains 4 pages. Both paper sizes have the same content. Choose the version matching your paper; downloads open directly without an email sign-up.
| File | A4 | US Letter |
|---|---|---|
| Complete pack (4 pages) | A4 PDF | Letter PDF |
| Activity sheets (4 pages) | A4 PDF | Letter PDF |
Choose a Garden Picture
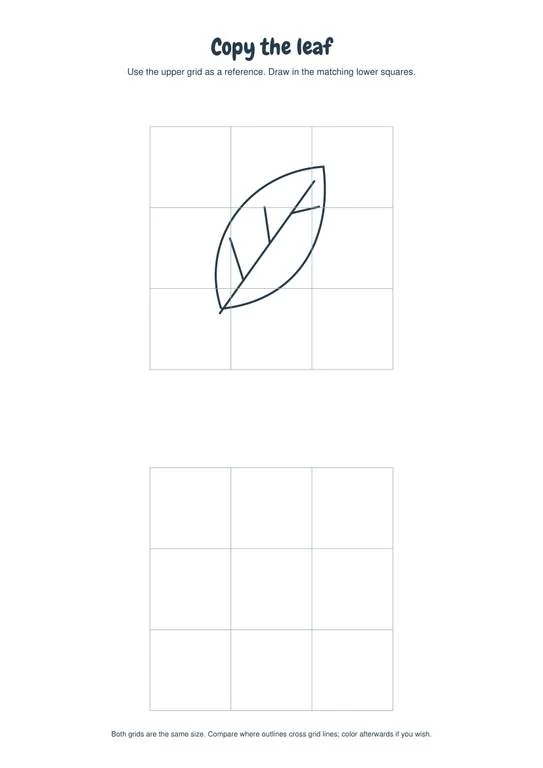
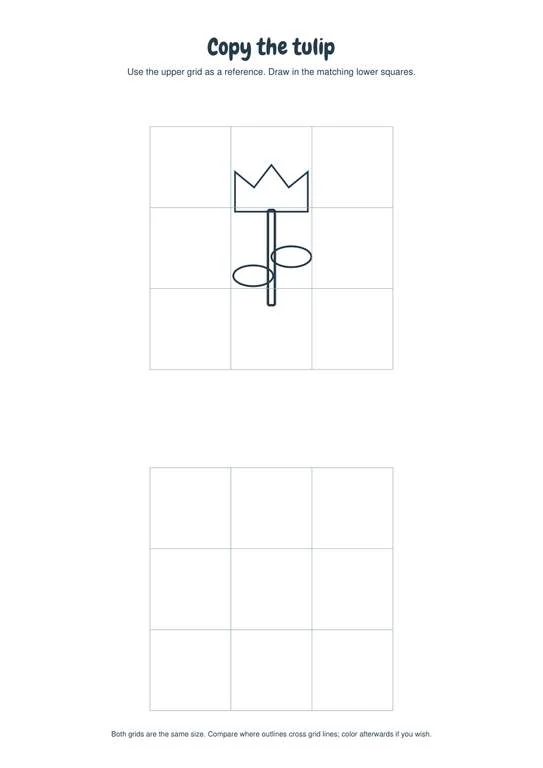
The flowerpot uses a broad rim and sloping sides, the leaf has a curved outline and simple veins, the tulip includes its petals, stem and leaves, and the mushroom has a broad cap with a few spots. Each has its own page, so children can choose rather than being asked to copy all four at once.
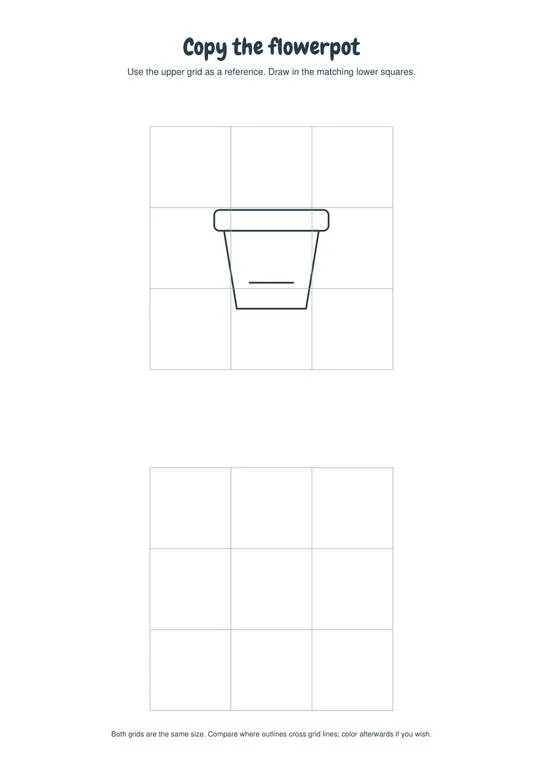
The drawings are black-and-white references with uncluttered outlines. The task is copying a picture, not identifying species or making an exact botanical drawing. Start with the flowerpot if straight boundaries feel easier to place.
Find the Corresponding Square
Both grids have three rows and three columns. First look at the upper left square of the reference, then find the upper left square of the empty grid. Any outline visible there belongs in that same position below.
Work across one row, or begin with a square containing a clear feature. Look at where a line enters or leaves the square: near the middle of an edge, close to a corner, or somewhere between. Make a light pencil mark in the corresponding place before joining it to the next part.
Continue Curves Across Grid Lines
A leaf edge or mushroom cap may continue through several squares. After drawing one part, compare the point where it meets the next square and continue from that same point. Avoid treating every square as an unrelated miniature picture.
If a line seems too close to the edge, check it against the reference before adding details. Erase and adjust light lines as needed. An adult can help locate the matching square without requiring a measured or perfectly traced copy.
Finish the Whole Outline
When the main shape is in place, add the smaller lines and spots shown in the reference. Look at the complete picture as well as individual squares so a missed line is easier to notice. The upper picture remains available for checking; a separate answer sheet is not necessary.
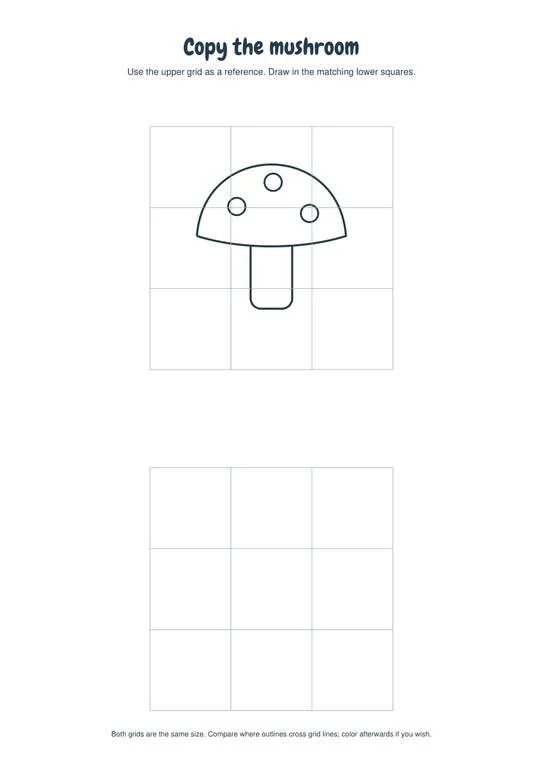
Coloring comes after the copying if desired. The grid may remain visible as part of the finished worksheet. For a freer drawing, try the same garden object again on spare blank paper.
Print One Sheet at a Time
The complete PDF has four pages with one reference and one blank grid on each page. Both grids are 94 mm square at actual size and are equal on both paper formats. Choose matching A4 or US Letter paper in portrait orientation.
Fit to printable area is suitable because the upper and lower grids scale together. A black-and-white printer, ordinary paper, a pencil and an eraser are enough. Check the first sheet for two complete grids before printing more.
You may print these files for personal, family and classroom activities. Share this resource page with another adult rather than selling or rehosting the PDFs.