
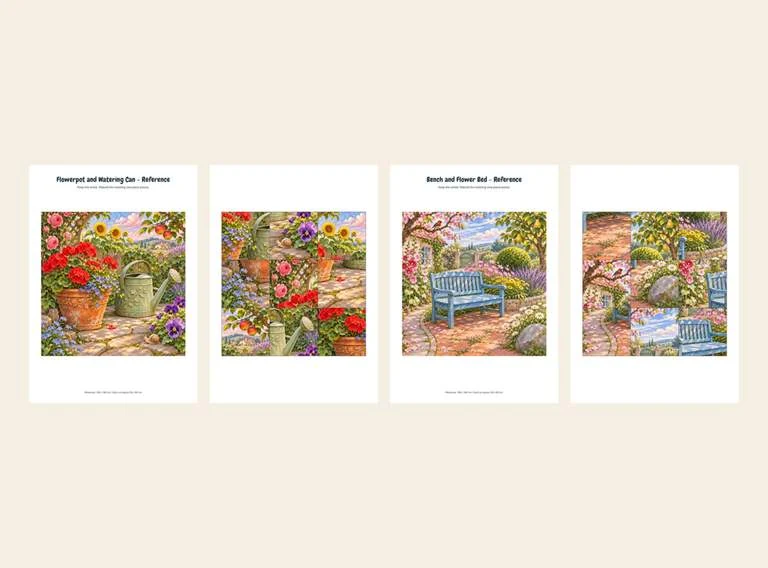
Rebuild two detailed garden pictures from nine square pieces each. This pack has separate mixed cut sheets, complete picture references and a printing-and-play guide in A4 and US Letter. Look at a reference first, then use the pictured details to join one scene at a time.
Choose Your Download
The complete pack contains 5 pages. Both paper sizes include the same content. Downloads open directly without an email sign-up.
| File | A4 | US Letter |
|---|---|---|
| Complete pack (5 pages) | A4 PDF | Letter PDF |
| Cut Sheets (2 pages) | A4 PDF | Letter PDF |
| Whole-picture references (2 pages) | A4 PDF | Letter PDF |
| Printing and play guide (1 page) | A4 PDF | Letter PDF |
Print Matching Files and Prepare One Scene
Choose A4 or US Letter to match your paper. Print the cut sheets and references in the same paper format at 100% / Actual Size, with Fit and Shrink turned off. Each finished picture is 180 × 180 mm, made from nine 60 × 60 mm squares. The complete five-page pack has two mixed cut sheets, two whole-picture references and one guide. Print the complete pack or the separate files, so you do not duplicate them.
An adult trims the outside of each picture block and cuts all its shared straight grid lines. There are no tabs, interlocking edges or gaps between squares. Keep the reference pages whole. Work with one scene’s nine pieces first and leave the second sheet uncut or in its own envelope. Keep the two sets separate; both use the same square shape.
Flowerpot and Watering Can Reference
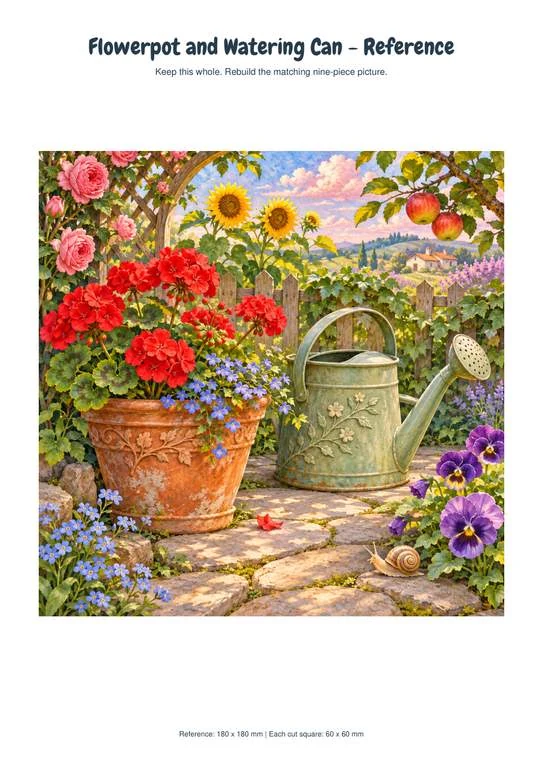
A terracotta pot full of red flowers stands beside a green watering can on a stone path. Roses climb the trellis at the upper left, sunflowers rise behind the can and two apples hang at the upper right. A snail and purple pansies sit near the lower right corner. These small landmarks make the complete reference worth looking at before cutting. Ask the child to choose one large object to find first: the flowerpot or the watering can. The two objects have different colors and curved outlines to follow.
Build the Pot, Can and Path
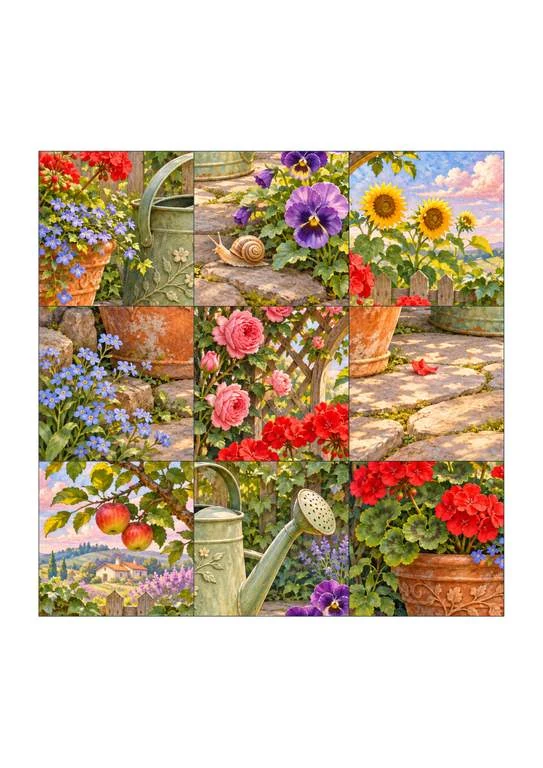
The mixed cut sheet moves the nine squares out of their finished order. Find the watering can’s body and curved handle first, then place the square with its long spout to the right. Follow the can’s outline across that edge. The red flowers continue into the terracotta-pot square on the left, and the snail belongs below the can near the purple pansies. Stone-path seams can help join the lower pieces. Compare each tentative join with the complete reference; a similar flower color alone does not prove two squares touch.
Bench and Flower Bed Reference
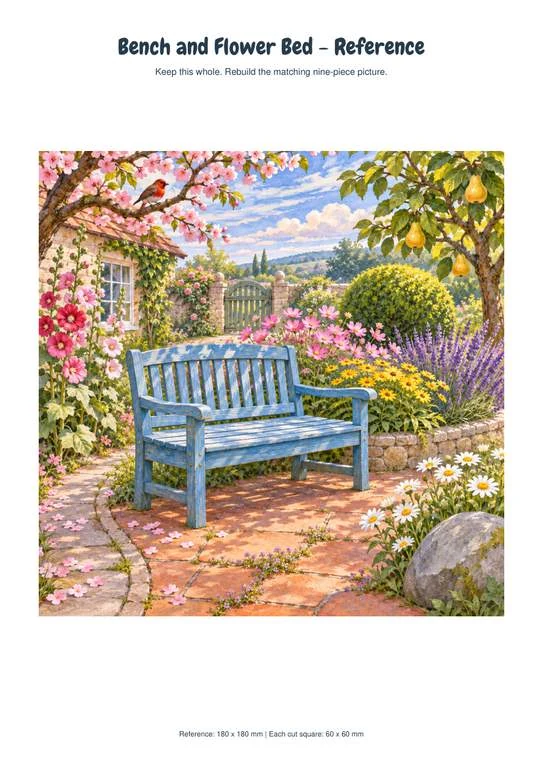
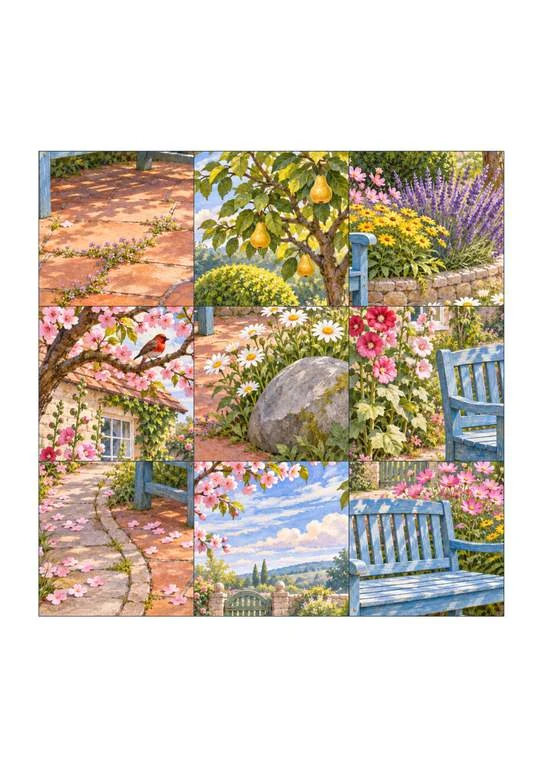
A pale blue wooden bench stands on a warm stone patio surrounded by flowers. Pink blossom branches stretch across the upper left, a pear tree fills the upper right and a garden gate sits in the distance. White daisies and a large gray rock occupy the lower right. The bench’s back, seat and legs form a broad shape across the middle and lower part of the picture. Look at its upright slats and long arm before spreading the nine pieces out.
Use the Bench Slats and Curved Border
Start with a square showing the blue bench and look for neighboring pieces that continue its seat or upright slats. The back of the bench crosses the middle row; its legs extend into the row below. The pear tree belongs at the top right, while the large gray rock is at the bottom right. Follow the curved stone border between the patio and flowers to check the lower joins. If a square seems correct by color but a bench rail stops at its edge, try another position or turn the piece upright.
Rebuild, Compare and Put Away
Spread one scene’s nine pieces face up on a clear surface beside its reference. Turn the pictures upright and build a three-by-three square. You can begin with a distinctive corner or assemble part of the main object, then add its neighbors. Because every cut edge is straight, use the picture to decide where a piece belongs.
Match lines, outlines and color changes across a shared edge. If a join looks wrong, compare that area with the whole reference and try rotating or moving the square. A single matching color is only a clue. Keep the pieces gently touching so a continuous line can be checked without a gap.
For an easier start, an adult can lay out one completed row and offer the remaining pieces, or find the four corners together. The reference can stay visible throughout. After finishing, compare the complete picture, count all nine squares into their envelope and put that scene away before taking out the other one.
You may print these files for personal, family and classroom activities. Share this resource page rather than selling or rehosting the PDFs.