
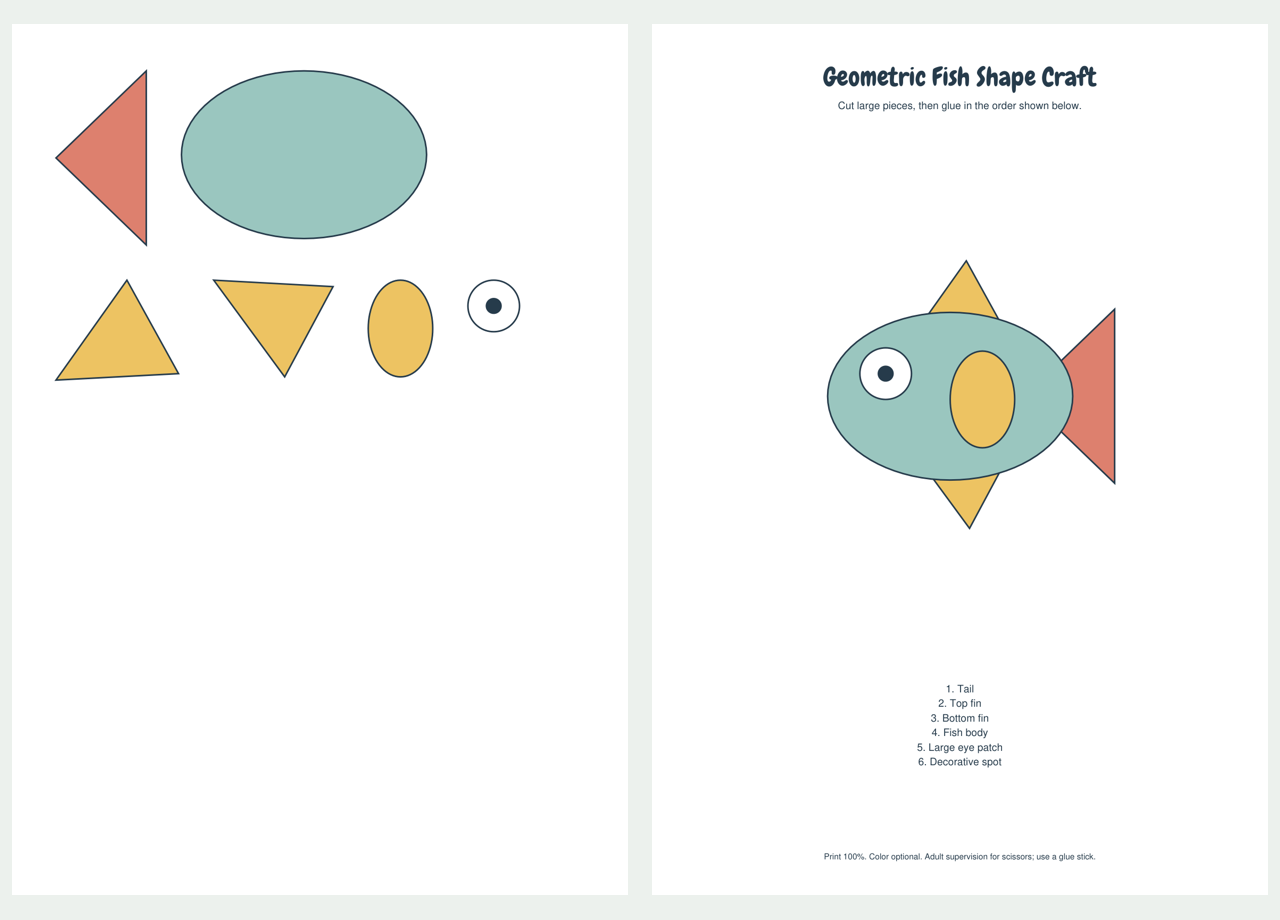
Build a geometric fish from six paper shapes: an oval body, triangular tail, two fins, a large eye patch and one oval decoration. The black pupil is printed on the eye patch, so the smallest facial mark stays attached to a larger piece. The finished fish is a flat side view.
Get the Paper and Tools Ready
Choose the A4 or US Letter version for your paper and print at actual size or 100%. Turn off fit-to-page if you want the cutting pieces to match the reference scale. Use ordinary paper for a lightweight picture, or paper/card that your printer can handle. Have a separate backing sheet, scissors and a glue stick ready. An adult can help with cutting. Start by laying the pieces out without glue.
Find the 6 Large Pieces
The broad teal oval is the body. The coral triangle forms the tail, while the two yellow triangles form the upper and lower fins. The large white circle contains the pupil, and the tall yellow oval is the decorative body spot. Cut the outside of each colored piece; the pupil is a printed detail, not another cutting line.
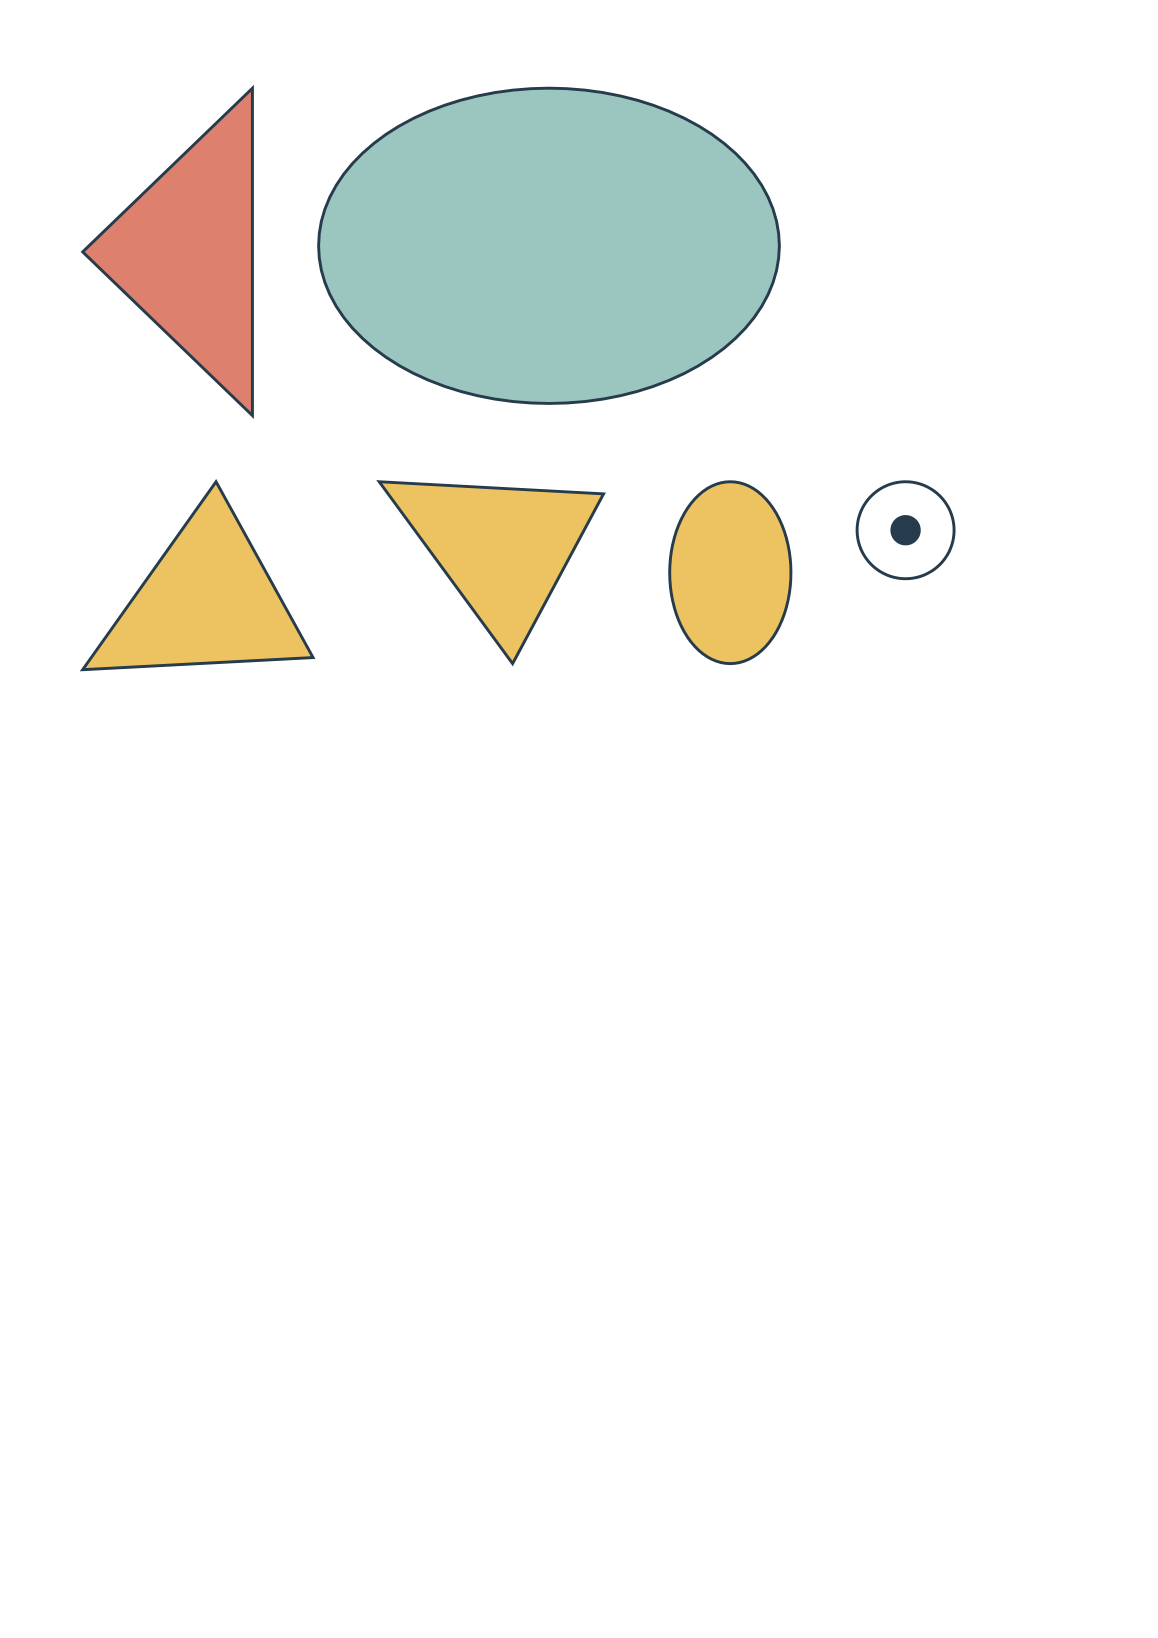
The cutting sheet has no title or footer inside its working area. Cut around each outside shape and keep the printed details on the pieces. The reference uses exactly the same piece geometry and scale as the cutting page. You can choose your own backing color without changing the paper shapes.
Put the Layers Together
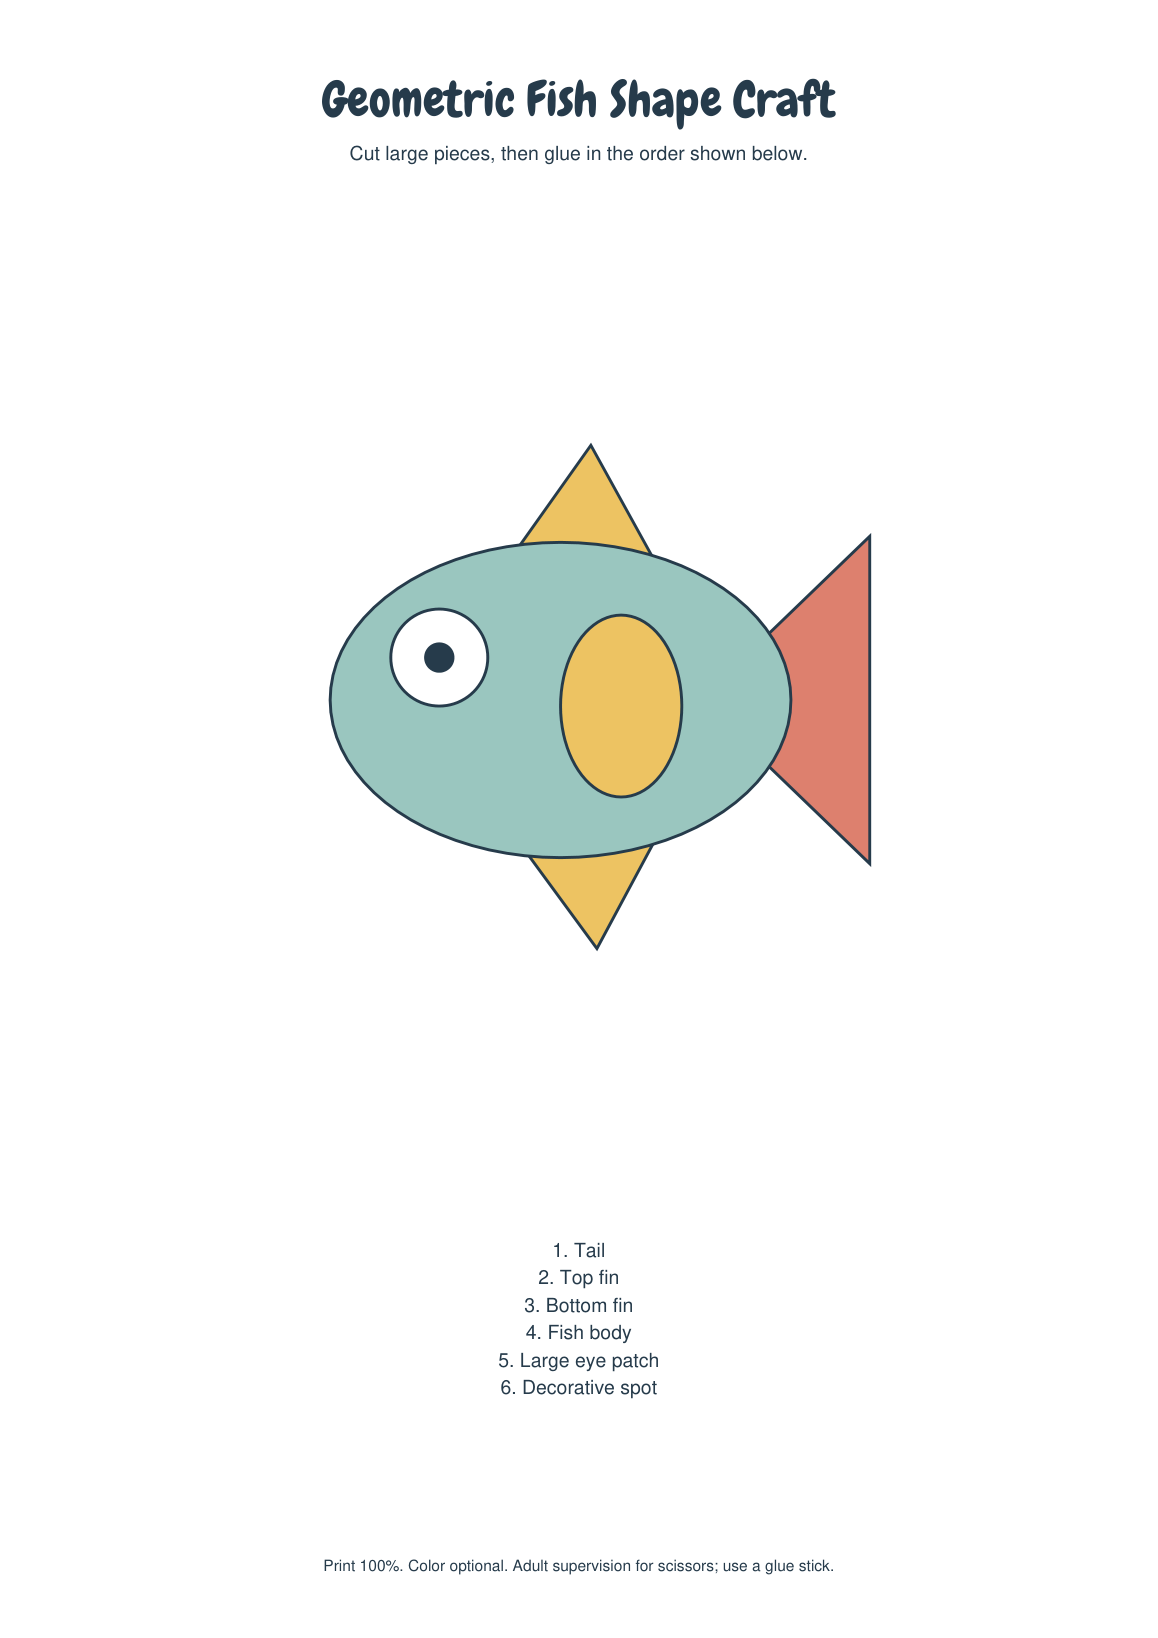
- Place the tail at the right of your backing sheet with its point facing left. Arrange the two fin triangles near the upper and lower edges of the future body. Leave their inner ends behind the body area. Try the complete layout before gluing anything.
- Glue the tail and fins in those back-layer positions. Lay the teal body oval over their inner ends. The tail should project from the right, with one yellow fin above and the other below. Keep enough of each fin visible to identify it.
- Place the white eye patch on the left half of the body, with its printed pupil facing upward. Keep the whole circle inside the teal oval. The eye establishes which end is the head, so it belongs opposite the tail rather than next to it.
- Add the tall yellow decorative oval toward the right half of the body. It sits in front of the teal oval, leaving the eye and tail visible. Check all six pieces against the reference, then glue the eye patch and decoration as the last two layers.
Check Before Pressing the Glue Down
If a fin disappears, slide it farther outward during the dry layout. If the tail looks like a separate triangle beside the fish, tuck its point under the body. Do not trim through the white eye patch to isolate its pupil; the whole patch is intended to be handled as one piece.
Press the large pieces flat once their positions are settled. Keep the separate reference page nearby while working rather than cutting it up for extra pieces. If you want another copy for a second picture, reprint the cutting page; the complete pack contains that same cutting page once, followed by the reference.
Download the Printables
Choose A4 (210 x 297 mm) or US Letter (8.5 x 11 inches) for the paper in your printer. The two sizes contain the same designs. The complete file repeats the separate files in one convenient PDF; it does not add extra activities.
Cut Pieces - 1 page: A4 PDF | LETTER PDF
Reference And Order - 1 page: A4 PDF | LETTER PDF
Complete pack - 2 pages: A4 PDF | LETTER PDF