
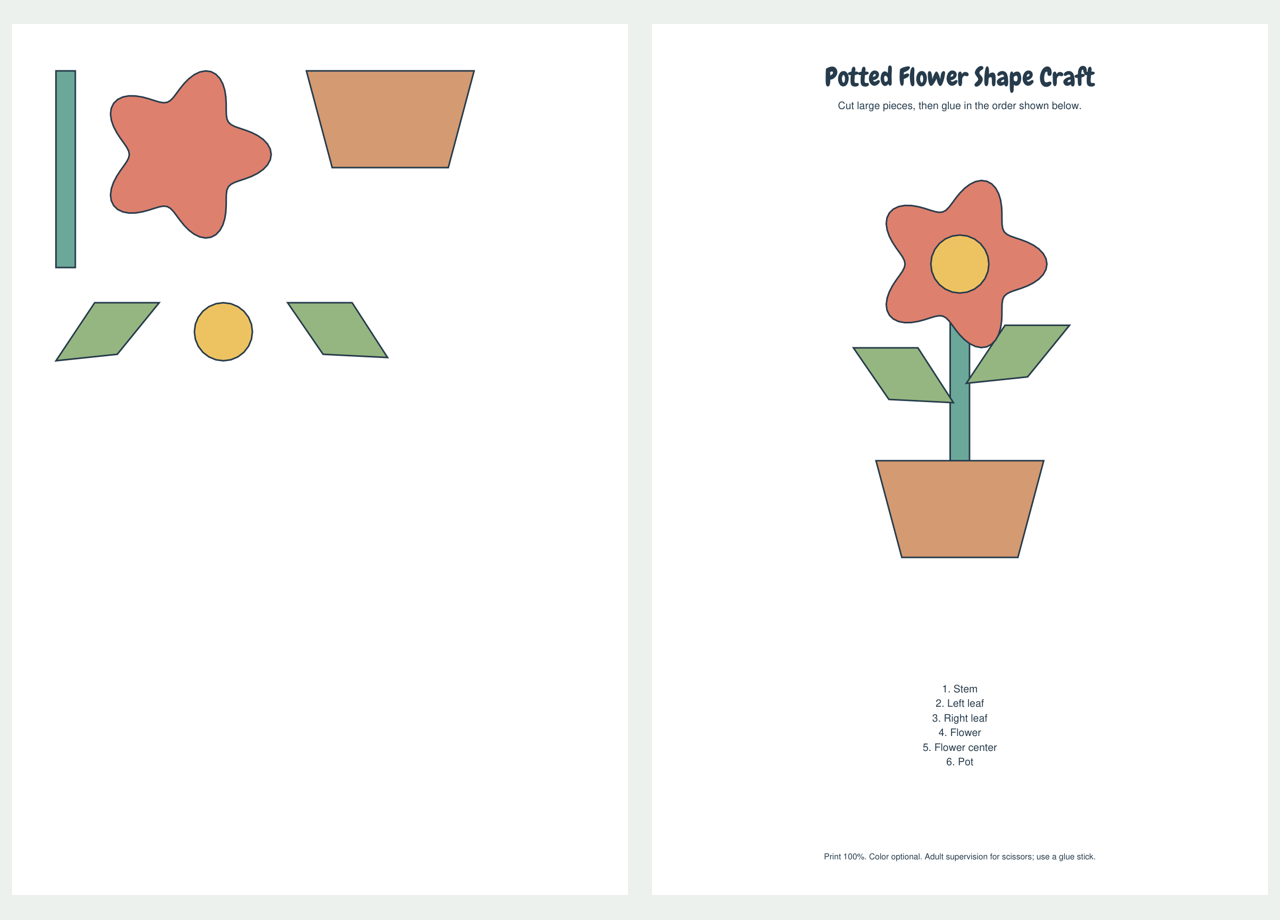
Create a potted flower with six broad paper pieces: a pot, straight stem, two leaves, one whole five-petal flower and a round center. The petals are connected as one shape. The project stays flat on a backing sheet, so there is no need to cut separate tiny petals or build a standing flower.
Get the Paper and Tools Ready
Choose the A4 or US Letter version for your paper and print at actual size or 100%. Turn off fit-to-page if you want the cutting pieces to match the reference scale. Use ordinary paper for a lightweight picture, or paper/card that your printer can handle. Have a separate backing sheet, scissors and a glue stick ready. An adult can help with cutting. Start by laying the pieces out without glue.
Find the 6 Large Pieces
The stem is a long narrow green rectangle. The two leaf pieces are larger slanted green shapes pointing in different directions. The coral flower is cut around its single outside edge, preserving all five joined petals. The yellow circle covers its center, and the tapered brown pot covers the bottom of the stem. Keep the pot's wide edge at the top.
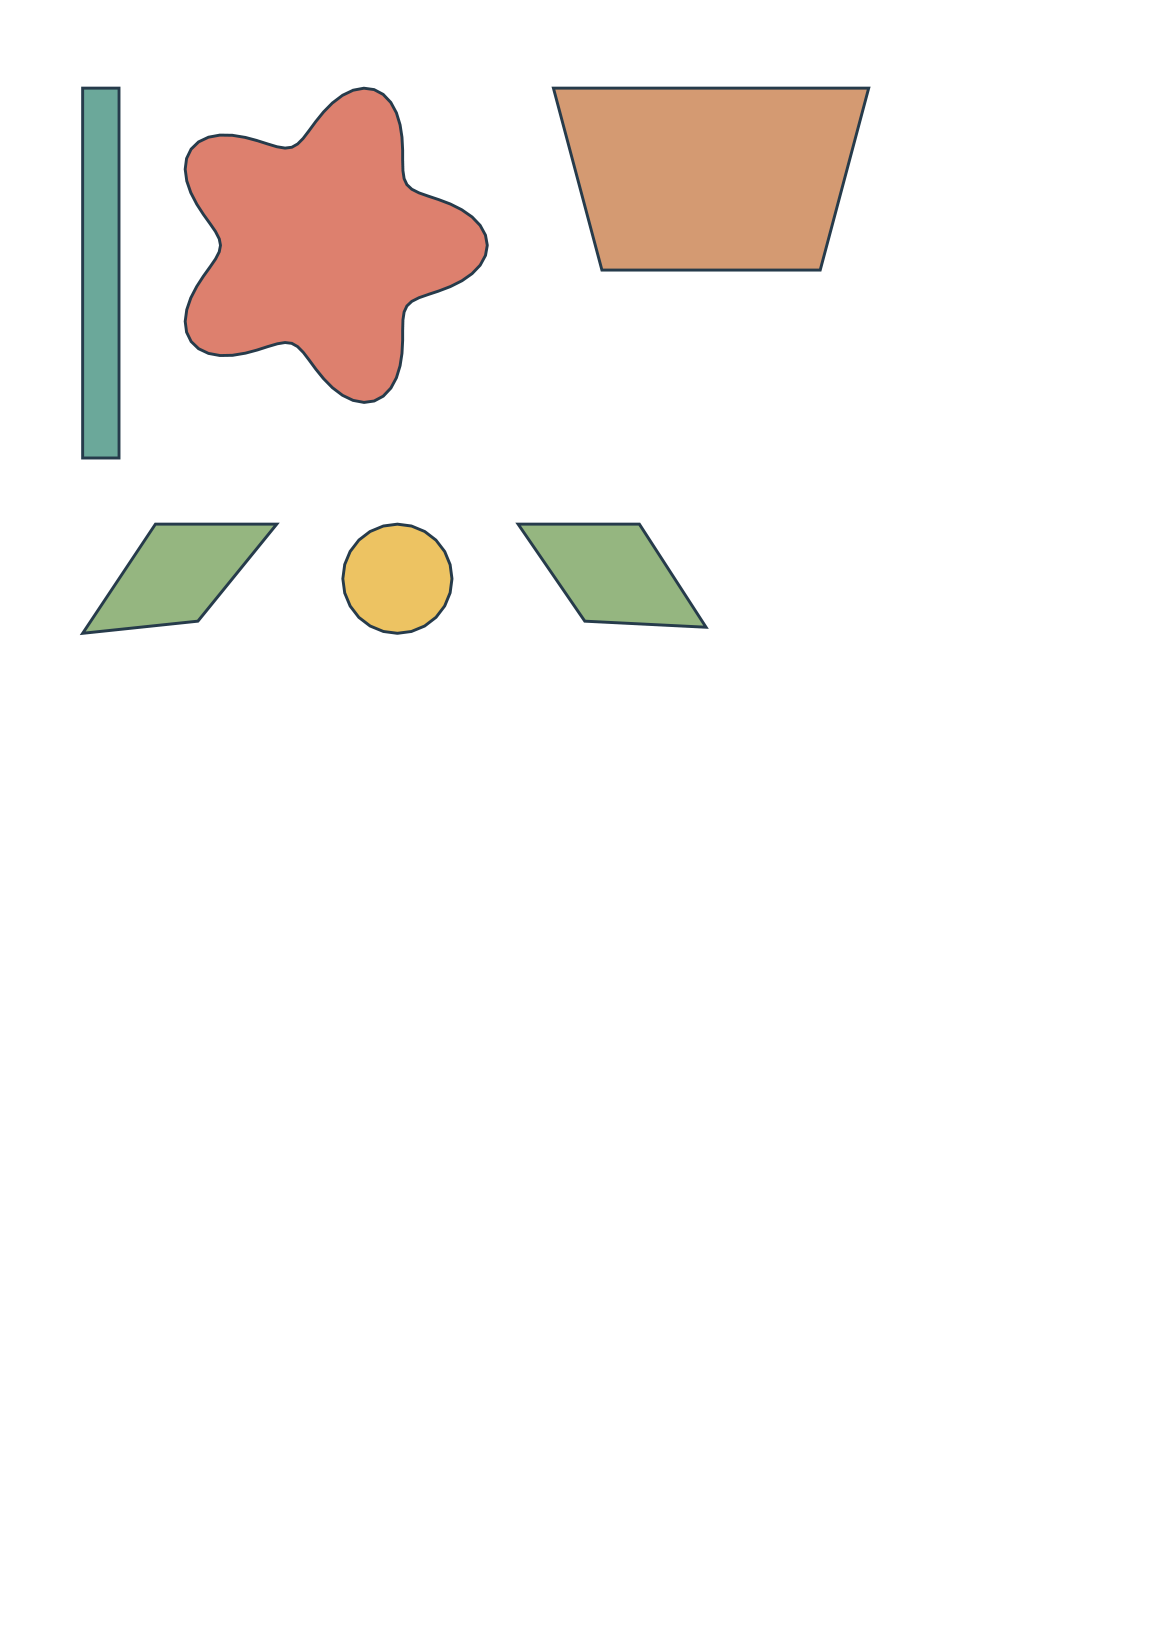
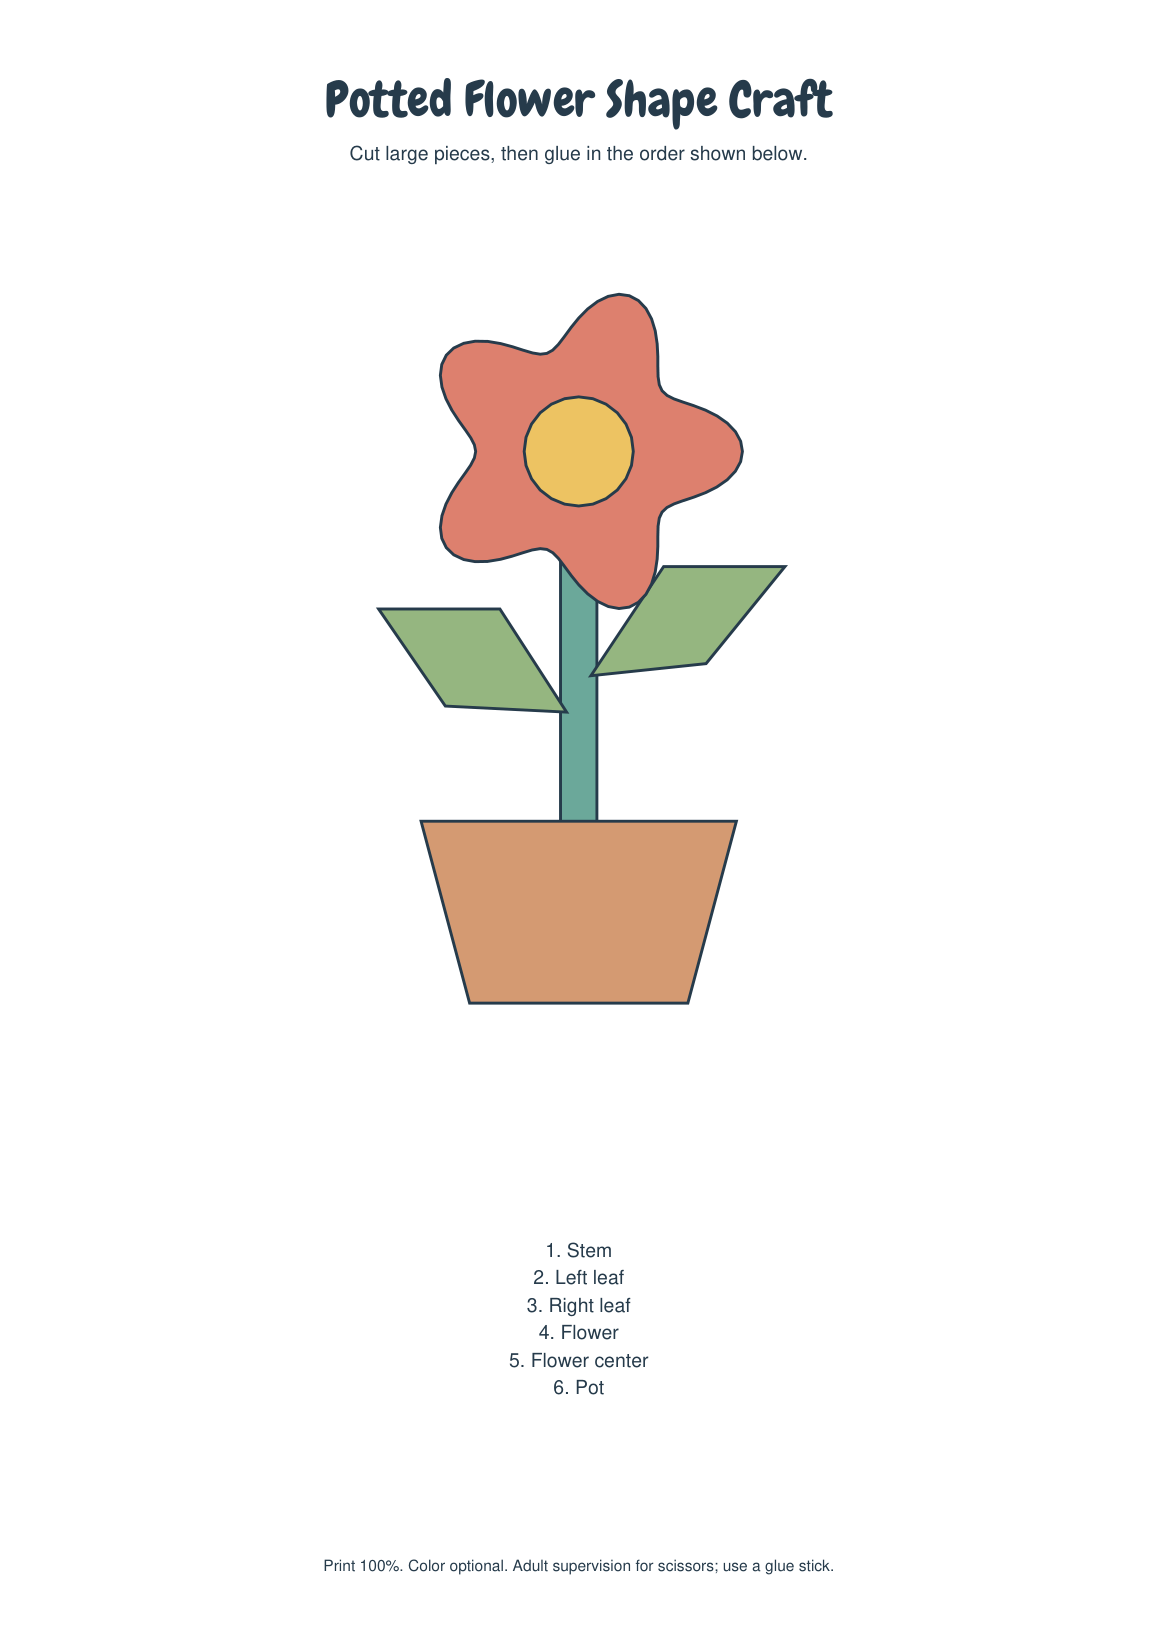
The cutting sheet has no title or footer inside its working area. Cut around each outside shape and keep the printed details on the pieces. The reference uses exactly the same piece geometry and scale as the cutting page. You can choose your own backing color without changing the paper shapes.
Put the Layers Together
- Place the stem upright in the middle of a backing sheet. Leave space above for the flower and below for the pot. Check the whole layout with the reference before gluing; the stem should not fill the full height of the finished picture.
- Add the left leaf against the left side of the stem, pointing outward and upward. Position the other leaf on the right, a little higher. Their inner tips meet the stem. Glue the stem and leaves after checking those contact points.
- Place the complete coral flower over the top end of the stem. Keep the petal outline visible all the way around. Glue the yellow circle in the middle of that coral piece, rather than placing it behind the flower or beside it.
- Finish with the pot across the bottom end of the stem. The wide top edge hides the stem's lower end. Keep the tapered pot centered below the flower, with its narrow base toward the bottom of your backing sheet. Glue it over the stem as the final large layer.
Check Before Pressing the Glue Down
If a leaf seems detached, move its inner point onto the stem before gluing. If the yellow circle covers a petal tip, shift it toward the flower's middle. A pot that narrows upward is upside down: turn it so the wide edge meets the stem and the narrow base rests below.
Press the large pieces flat once their positions are settled. Keep the separate reference page nearby while working rather than cutting it up for extra pieces. If you want another copy for a second picture, reprint the cutting page; the complete pack contains that same cutting page once, followed by the reference.
Download the Printables
Choose A4 (210 x 297 mm) or US Letter (8.5 x 11 inches) for the paper in your printer. The two sizes contain the same designs. The complete file repeats the separate files in one convenient PDF; it does not add extra activities.
Cut Pieces - 1 page: A4 PDF | LETTER PDF
Reference And Order - 1 page: A4 PDF | LETTER PDF
Complete pack - 2 pages: A4 PDF | LETTER PDF