
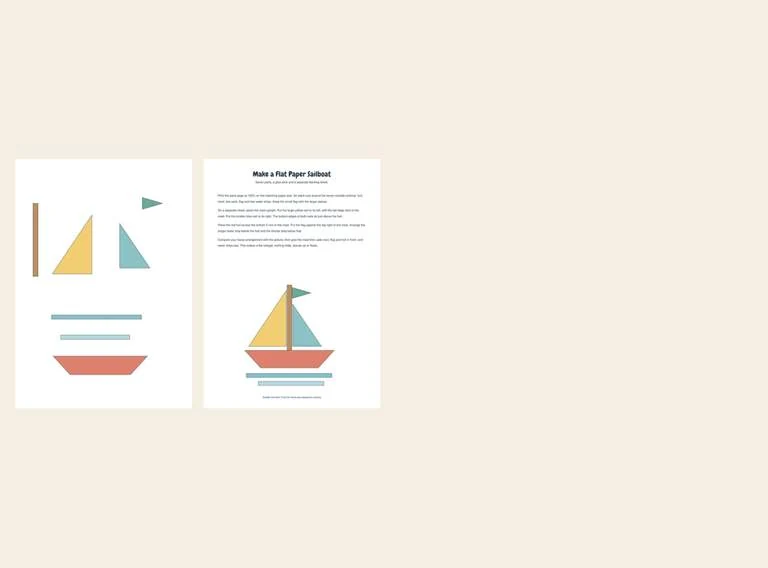
Make a cheerful flat sailboat picture with seven printed pieces. The template includes a red hull, narrow mast, two different sails, a flag and two blue water strips. Cut the colored parts, arrange them on your own backing paper and glue them in place using the separate finished-picture guide.
Choose Your Download
The complete pack contains 2 pages. Both paper sizes have the same content. Choose the version matching your paper; downloads open directly without an email sign-up.
| File | A4 | US Letter |
|---|---|---|
| Complete pack (2 pages) | A4 PDF | Letter PDF |
| Illustrated guide (1 page) | A4 PDF | Letter PDF |
| Cut-out parts (1 page) | A4 PDF | Letter PDF |
What You Need
Print the parts sheet and have a separate backing sheet, a glue stick and scissors ready. An adult can prepare the pieces or help with cutting as needed. The artwork is already colored; this version is a ready-to-cut collage rather than a coloring template.
Choose A4 or US Letter to match your paper and print at Actual size or 100%. The completed boat is about 112 mm wide at the hull, with water strips beneath it. It fits comfortably on a separate full sheet with space to add your own sky or sea.
Cut Seven Outside Outlines
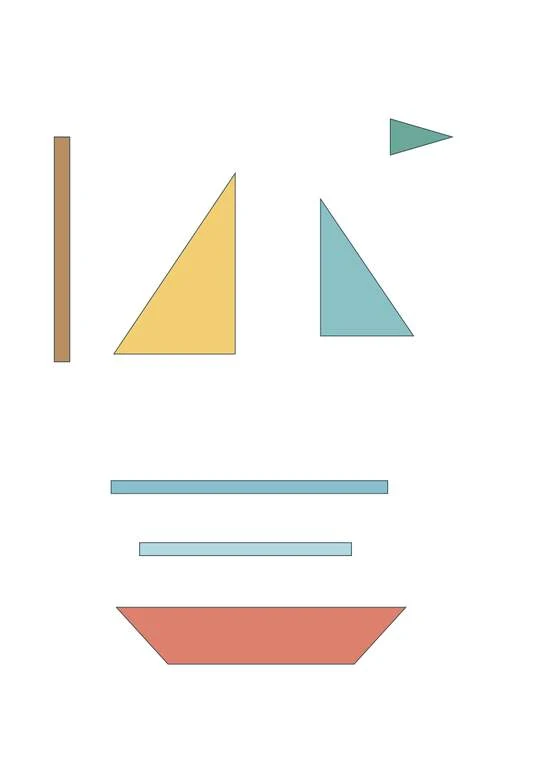
The cutting sheet contains only the parts, with generous space around each. Cut the hull, mast, large yellow sail, smaller blue sail, green flag and two water strips around their outer outlines. There are no interior holes to cut and no folds to score.
Keep all seven pieces together and set the cutting sheet aside. The reference page is for looking at, not another set of parts. You do not need to cut out the finished example.
Arrange the Boat Before Gluing
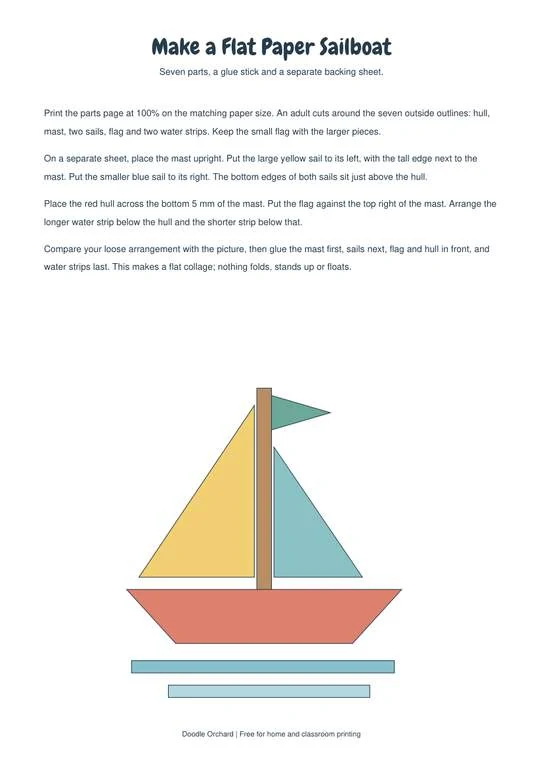
Place the mast upright near the center of the backing paper. Put the large yellow sail on its left with its tall straight edge next to the mast. The smaller blue sail goes to the right, with its tall edge beside the mast.
Place the red hull across the bottom 5 mm of the mast so that the mast appears to rise from behind it. Set the flag against the top right of the mast, with its flat side at the pole. Put the longer blue water strip below the hull and the shorter one below that.
Compare your loose arrangement with the finished reference. The sails sit just above the hull; they are not tucked under its entire top edge. Move the pieces while they are still loose if the mast is hidden or a sail points in the wrong direction.
Glue Back Pieces First
Lift and glue the mast first, then the two sails. Add the flag and hull in front, keeping the hull over the bottom of the mast. Glue the water strips last. Press the paper gently and let the glue dry according to its instructions.
This makes a flat picture on backing paper. It does not fold into a standing model or make a boat that floats. Children can add a sun, clouds or their own sea drawing to the backing after the printed pieces are attached.
Print Only the Parts You Need
The complete download has two pages: one parts sheet and one illustrated guide. Separate downloads let you keep the reference on a screen and print only the parts. Both paper sizes use the same part geometry and the same finished arrangement.
Print another parts sheet for each new boat rather than trying to make several boats from the seven pieces of one sheet. Check that every part is visible in the printer preview, especially the narrow mast and small flag.
You may print these files for personal, family and classroom activities. Share this resource page with another adult rather than selling or rehosting the PDFs.